
The Essential Guide to Logo Design Size & Dimension

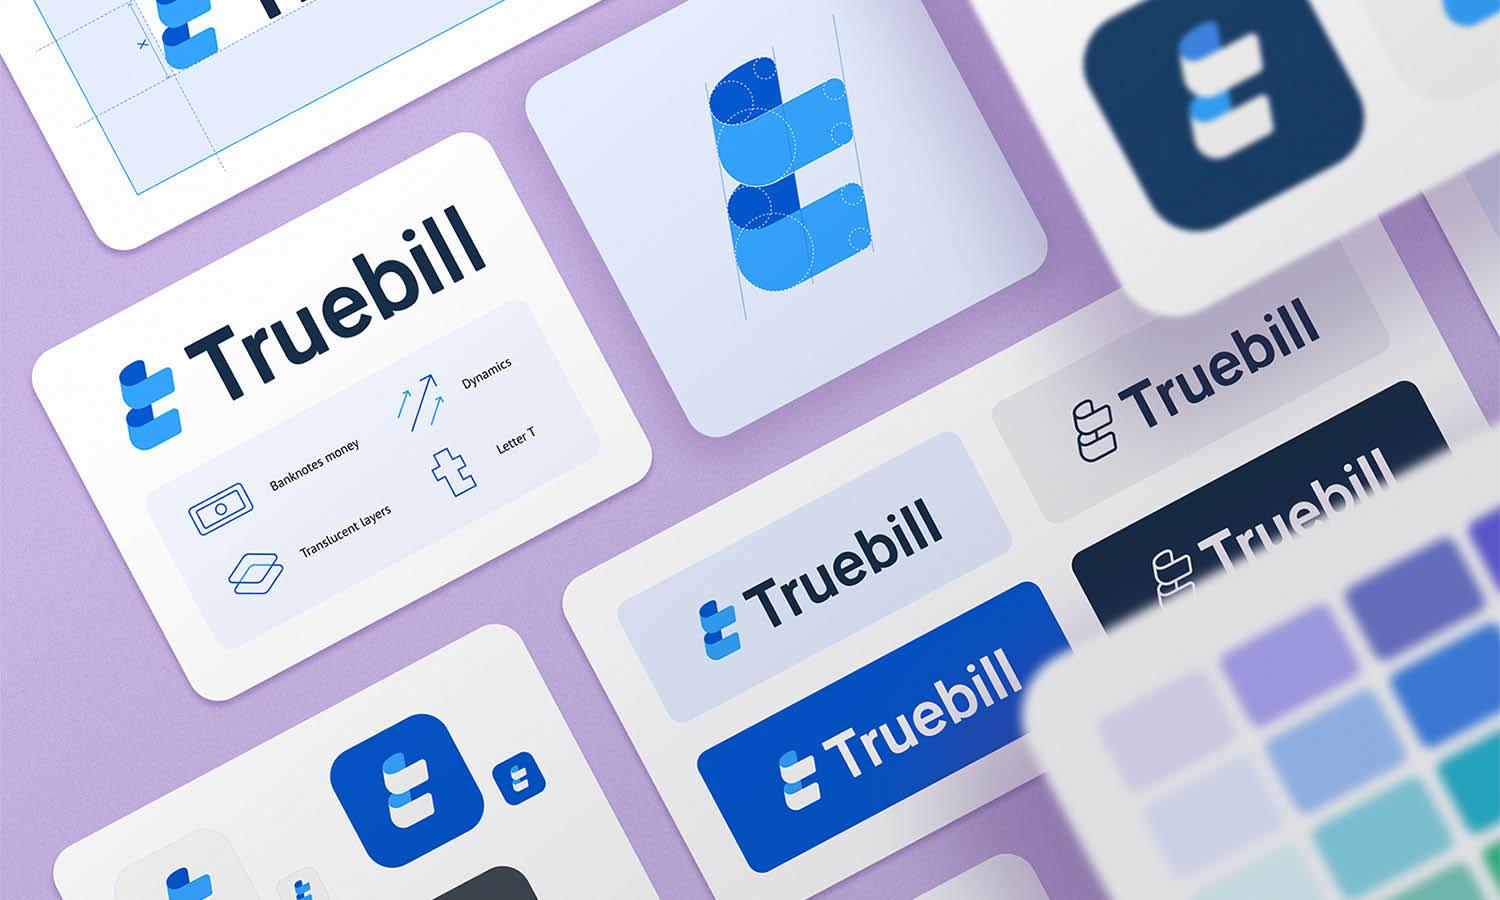
Source: Shakuro Branding, Branding For New Shtetl, Dribbble, https://dribbble.com/shots/15638290-Branding-For-New-Shtetl
A logo may look balanced on a designer’s screen but behave differently once it appears on a website, business card, product label, or sign. That is why logo design size is not simply a matter of choosing one width and height. A strong logo must remain clear, proportionate, and recognizable across many applications. The best approach is to create a scalable master logo, then prepare versions suited to different uses. Digital platforms rely mainly on pixel dimensions, while print work is usually measured in inches or millimeters and may involve resolution requirements. Small applications create another challenge because fine details that work at larger sizes can become difficult to read. Understanding dimensions, resolution, aspect ratio, minimum size, and file preparation helps prevent production problems and makes the finished logo easier to use consistently.
Understanding Logo Design Size and Dimensions
Logo size can refer to several things, so it helps to separate the terms first. Width and height describe physical or digital dimensions, while resolution describes the amount of image information contained in a raster file.
Logo Dimensions vs. Logo Resolution
Dimensions tell you how wide and tall an image is. A web logo might measure 500 × 200 pixels, while a printed version might be placed at 50 × 20 millimeters. Resolution, usually measured in pixels per inch, applies mainly to raster images such as PNG and JPG files. A high-resolution raster file can reproduce more detail at a given physical size. However, enlarging a small raster logo does not create genuine detail and can make edges look soft or pixelated.
Pixels, Inches, Millimeters, and Points
Pixels are the most useful measurement for screen-based logos. Inches and millimeters are more relevant to printing because they describe physical size. Points are sometimes used in layout and typography, although they are less common for complete logo dimensions.
Why There Is No Universal Logo Size
A single logo may need to fit a favicon, presentation, storefront, or billboard. Instead of looking for one perfect size, designers should build a logo system that scales cleanly and remains recognizable across formats.
Choosing the Right Logo Design Size for Your Master File
The master logo should be created with flexibility in mind. Its job is not to match one final application but to provide a clean source that can be resized and exported as needed.
Build the Original Logo as Vector Artwork
Vector graphics are built from mathematical paths rather than fixed pixels, so they can be enlarged or reduced without losing sharpness. Adobe Illustrator, CorelDRAW, and other vector editors are well suited to creating master logo files. A vector master makes future production easier. A printer can enlarge it for signage, while a web designer can export a smaller PNG or SVG for digital use.
Use an Appropriate Artboard Size
The artboard does not determine the final logo size. It simply provides a working area. Choose one that comfortably contains the artwork without leaving excessive unused space or cropping so tightly that editing becomes awkward.
Keep Proportions Consistent
Once the logo’s width-to-height relationship is established, preserve it. Resizing should always maintain the original aspect ratio. Stretching or compressing the design changes its shapes, lettering, and spacing even if the logo remains recognizable.
Logo Size for Digital Applications
Digital environments create varied sizing requirements. A logo may appear in a wide website header, a square profile image, or an icon only a few pixels across, so each use should be prepared intentionally.
Website Header Logos
Header logos usually need a relatively wide format because website navigation is arranged horizontally. The exact pixel dimensions depend on the layout, but the logo should remain readable without dominating the header. Check the mobile version as well. A logo that fits on desktop may become too wide on a smaller screen, making a compact logo variation or symbol more suitable.
Social Media Profile Images
Most social platforms place profile graphics inside square or circular areas. A wide wordmark can become tiny when forced into this shape. A symbol, monogram, or stacked version often produces a clearer result. Leave enough breathing room so circular cropping does not cut important details. Preparing a dedicated profile-image version is safer than relying on automatic cropping.
Favicons and Small Interface Uses
Favicons and interface icons may appear at 16 × 16, 32 × 32, or similarly small dimensions. Complex typography and narrow details can disappear at this scale, so a simplified logo mark usually works better than the full identity.
High-Density Displays
High-density screens can make undersized raster assets look soft. Exporting digital files at larger pixel dimensions and displaying them smaller helps preserve crispness. SVG files are especially useful where supported because they remain sharp at different screen densities.

Source: Yosbrands, Tamra Capital Final Logo, Dribbble, https://dribbble.com/shots/19057518-TamraCapital-Final-Logo
Logo Design Size for Print
Print requires a different approach because the final logo has a physical size. A logo on a business card may be only a few centimeters wide, while the same identity on a poster or package can be much larger.
Business Cards and Small Printed Materials
Small print applications reveal whether the logo remains readable at reduced dimensions. Thin lines can disappear, small lettering can fill in, and closely spaced details may blend together. Test the logo at its actual intended size instead of judging it only while zoomed in. If the full logo loses clarity, use an approved simplified variation rather than forcing every detail into a tiny area.
Packaging, Posters, and Larger Print
Larger formats provide more room, but the logo should still respect hierarchy and surrounding content. Vector artwork is valuable because it can be enlarged for packaging panels, posters, banners, or displays without pixelation.
Resolution for Raster Logo Files
When a raster logo must be supplied for print, 300 PPI is a common target for high-quality reproduction at the intended physical size. A 300 PPI image can still lose quality if it is enlarged far beyond the dimensions for which it was prepared. Whenever possible, provide vector artwork to the printer so it can be scaled cleanly.
Physical Measurements and Print Specifications
Printers often specify dimensions in inches or millimeters. Follow the production template rather than converting from screen pixels by guesswork. Packaging dielines, labels, cards, and promotional materials may each have precise placement requirements.
Minimum and Maximum Logo Sizes
A useful logo system defines how small the identity can become before clarity begins to suffer. This is more useful than assigning one fixed size to every application.
Setting a Minimum Logo Size
Minimum size is the smallest approved reproduction at which the logo remains legible and recognizable. It can be expressed in pixels for digital use and millimeters or inches for print. Test small type, thin strokes, negative spaces, counters inside letters, and gaps between elements. If these begin to disappear, the logo has probably been reduced too far.
When a Simplified Logo Version Is Needed
Responsive logo systems solve small-size problems by removing or rearranging details. A full logo might contain a symbol, business name, and descriptor, while the smallest version uses only the symbol. This is different from shrinking the full logo because the simplified version is intentionally built for limited space.
Does a Logo Need a Maximum Size?
Vector logos do not have a practical maximum resolution because their paths can scale indefinitely. However, layout rules may still limit how large the logo should appear so it does not overpower other content.
Aspect Ratio, Clear Space, and Logo Placement
Logo dimensions should not be considered in isolation. The shape of the logo and the space around it influence how much room it needs within a layout.
Maintain the Original Aspect Ratio
The aspect ratio is the relationship between width and height. When resizing, both dimensions should change proportionally. Entering an arbitrary width and height independently can stretch or squash the design. Most design programs include a locked-proportion setting. Keeping it enabled helps prevent accidental distortion.
Account for Clear Space
Clear space is the protected area surrounding the logo. It keeps nearby text, images, edges, or other graphics from crowding the mark. A logo may measure 40 millimeters wide, but the total placement area can be larger once clear space is included. Brand guidelines often define this space using a feature from the logo, such as the height of a letter or part of the symbol.
Consider Horizontal and Vertical Logo Variations
A horizontal logo may suit website headers but perform poorly in narrow packaging panels. A stacked or vertical version can fit the available area more naturally without distorting the original design.

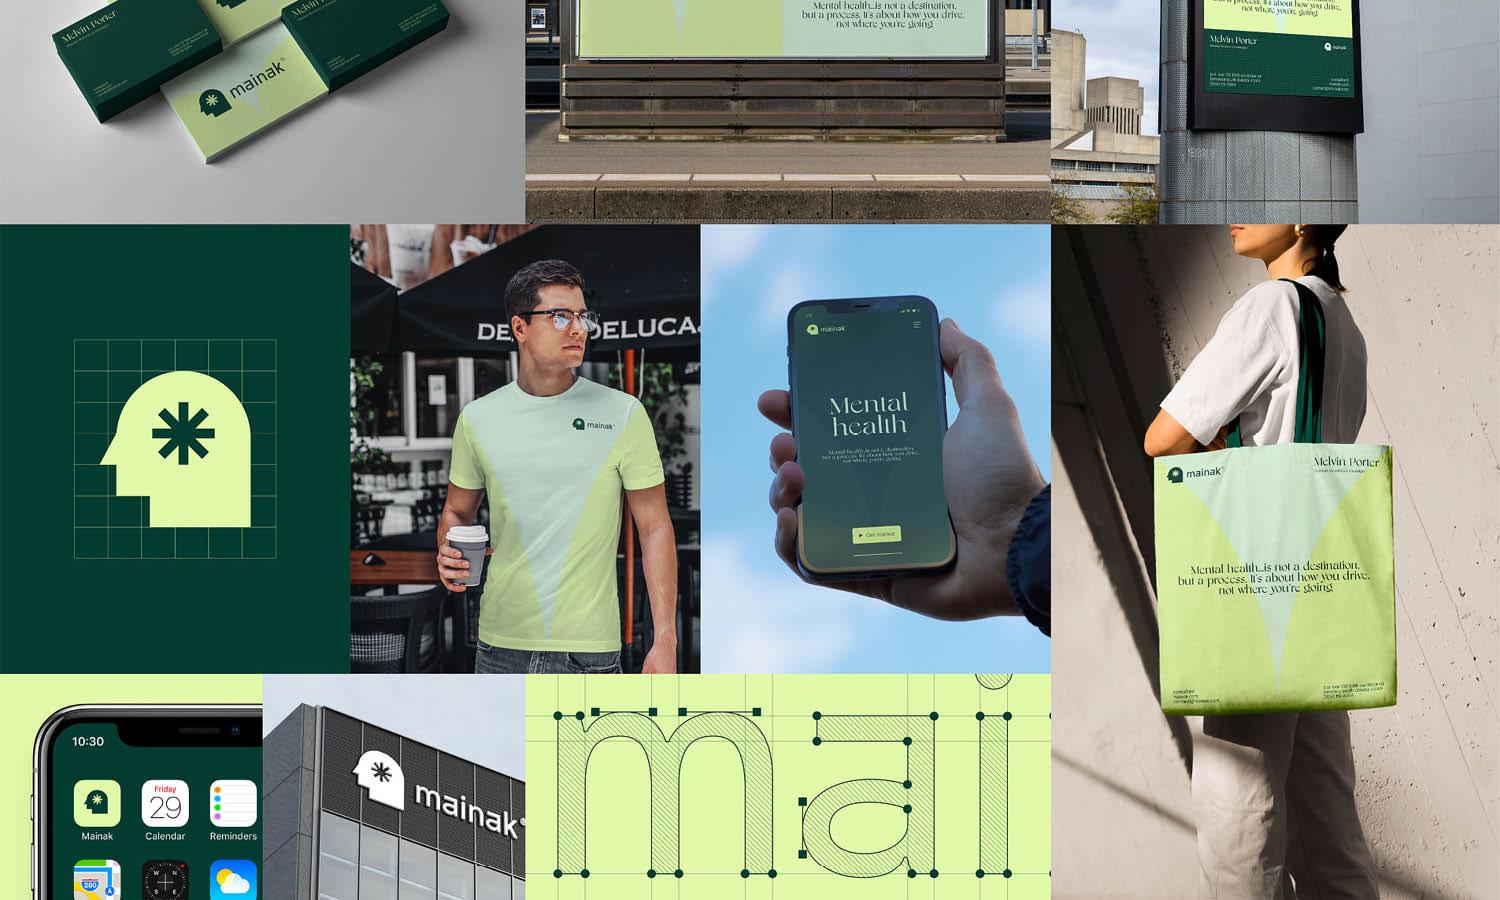
Teguh Irvan Ariyanto, Columbus Brand Guidelines, Dribbble, https://dribbble.com/shots/19023789-Columbus-Brand-Guidelines
Preparing Logo Sizes for Client Delivery
Good logo delivery should make sizing easier for the people who will use the identity later. Clients should not have to guess which file belongs on a website, in print, or inside a profile image.
Provide Scalable Master Files
Include appropriate vector formats such as AI, EPS, SVG, or vector PDF depending on the client’s needs. These files serve as the primary source for future resizing and professional production.
Export Useful Raster Sizes
PNG and JPG versions are helpful for everyday digital use. Export them at practical dimensions rather than supplying only one small raster file. Transparent PNG files are useful when the logo will appear over different backgrounds.
Organize Files by Intended Use
A clear folder structure can separate files for print, web, social media, and icons. File names can include dimensions or usage labels, helping clients choose the right version without opening every file.
Include Basic Sizing Guidance
State the minimum approved size, explain that proportions must remain locked, and identify any simplified versions intended for small applications. A short sizing guide can prevent many future mistakes.
Common Logo Design Size Mistakes to Avoid
Many logo sizing problems happen after the design itself is finished. Avoiding a few common errors can protect both appearance and production quality. One major mistake is creating the only master file as a small raster image. It may work on a website, but it becomes difficult to use for large print. Enlarging it later will not restore missing detail. Another common problem is stretching the logo to fill a space. Adjust the placement area or use an alternate logo arrangement instead of changing the original proportions. Designers should also avoid using the exact same logo version at every scale. A detailed lockup that looks excellent on packaging may become unreadable as a favicon. Testing minimum sizes helps identify when a simpler mark is needed. Other issues include confusing pixel dimensions with print resolution, exporting excessive blank space, and failing to check artwork at actual output size. A good logo design size workflow anticipates these problems before production.
Conclusion
Effective logo design size is less about choosing one perfect set of dimensions and more about creating an identity that adapts reliably. A strong master logo begins as scalable vector artwork, maintains a consistent aspect ratio, and is tested at both small and large sizes. Digital applications require appropriate pixel dimensions and simplified versions for compact spaces, while print work depends on physical measurements, production specifications, and sufficient raster resolution when vector files are unavailable. Clear-space rules and alternate logo configurations add further flexibility. By preparing useful master files, practical exports, and basic sizing guidance, designers make the logo easier to apply correctly. The result is a visual identity that stays clear, balanced, and recognizable across everything from tiny interface icons to large-format print.
Let Us Know What You Think!
Every information you read here are written and curated by Kreafolk's team, carefully pieced together with our creative community in mind. Did you enjoy our contents? Leave a comment below and share your thoughts. Cheers to more creative articles and inspirations!
Related Articles






Leave a Comment