
Mastering Logo Design Dimensions: Optimal Sizes for Print Design

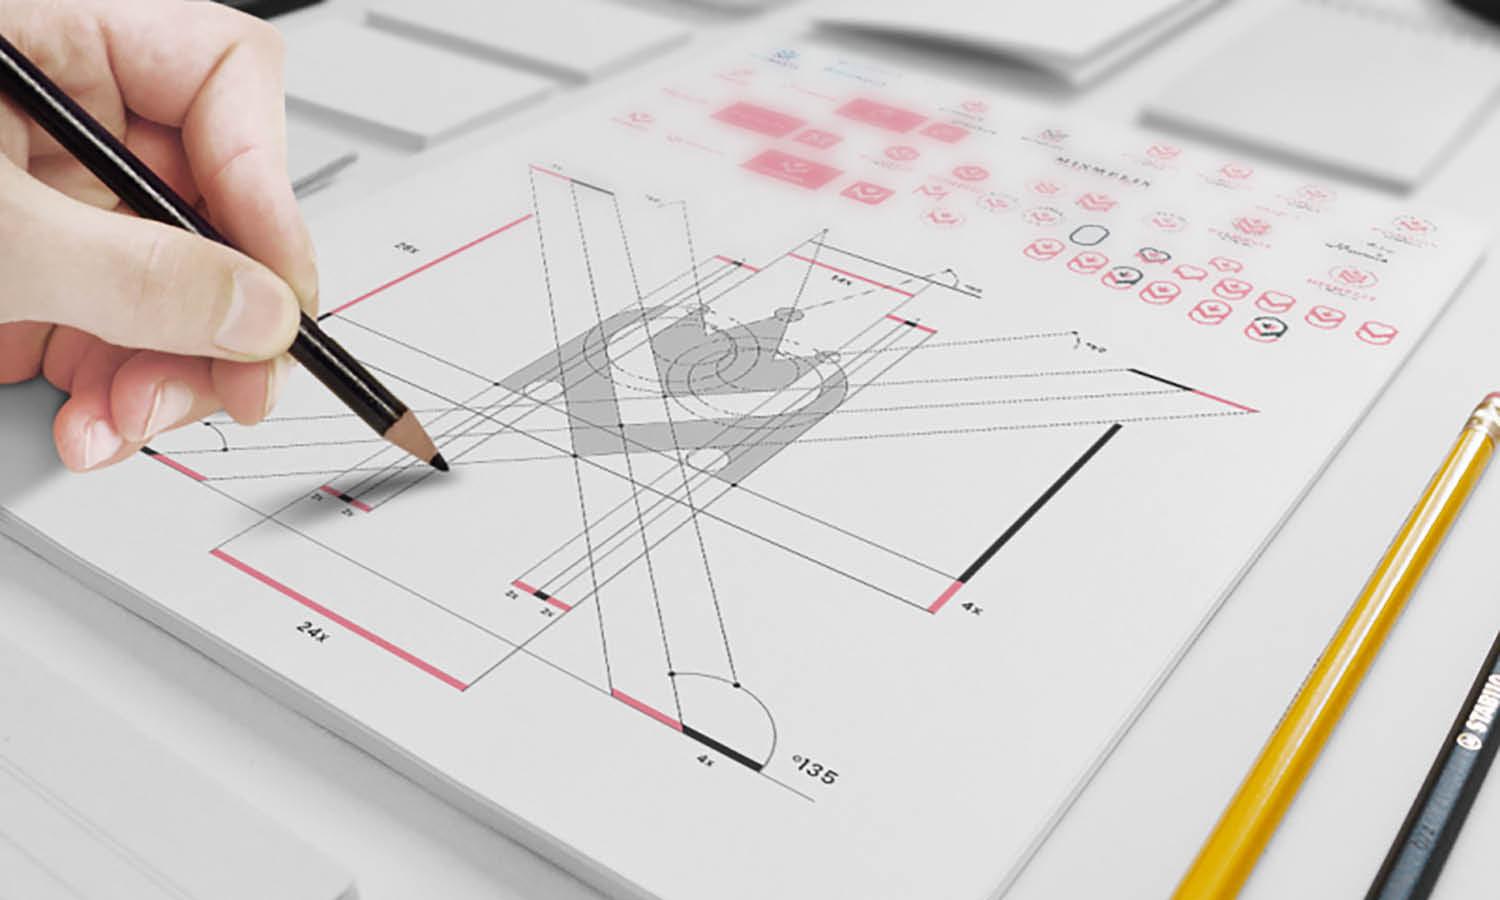
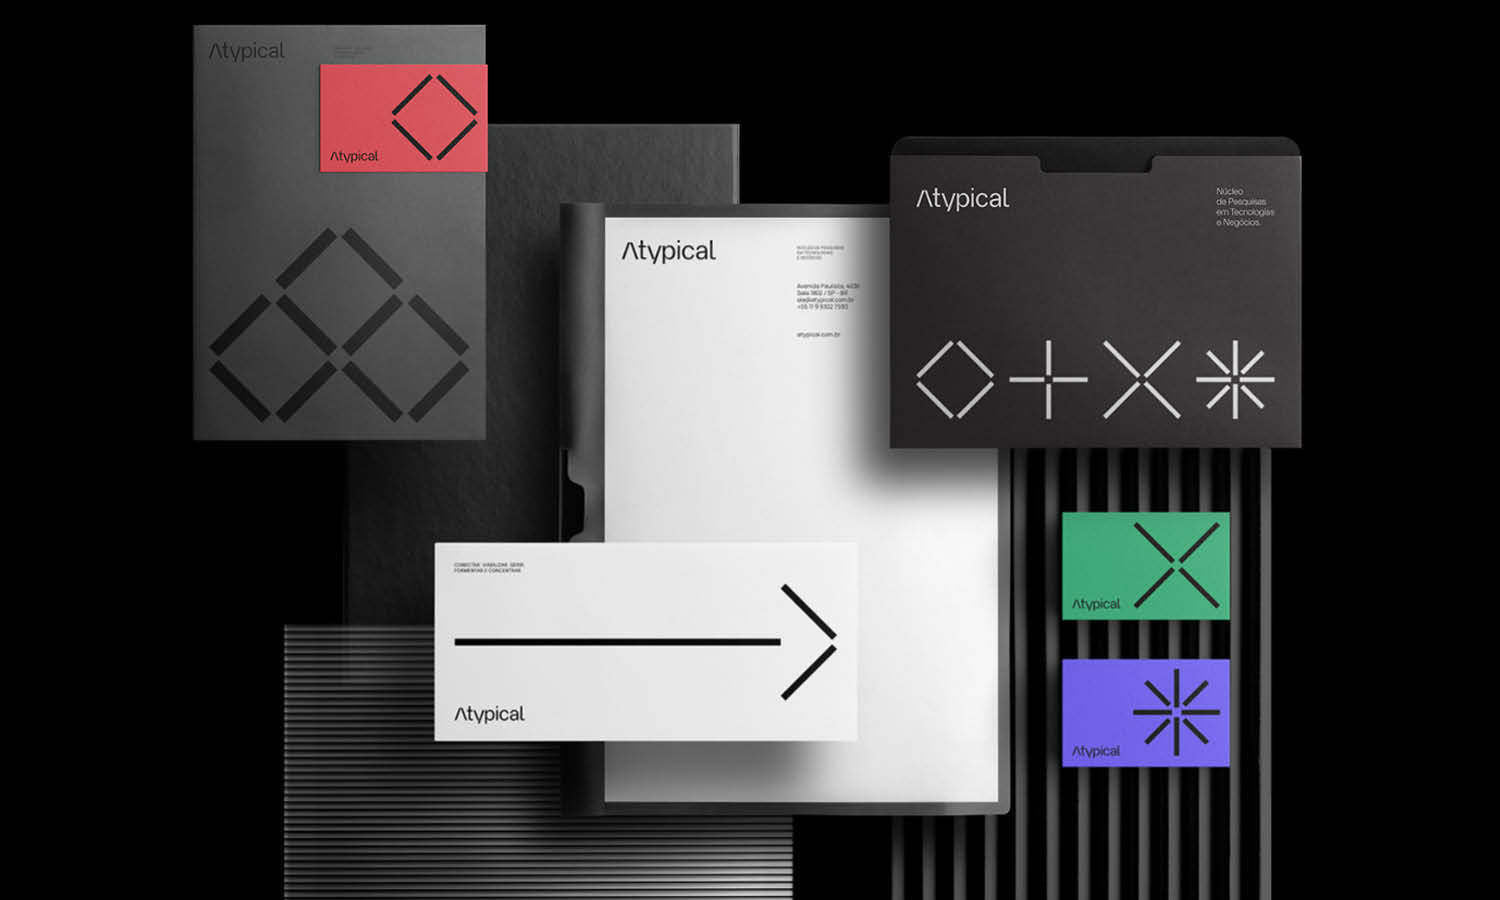
Source: VORONOI Studio, Nextpro, Dribbble, https://dribbble.com/shots/5964568-Nextpro
A logo that looks sharp on a screen does not always reproduce equally well in print. Physical dimensions, resolution, file type, and placement all affect how clearly a logo appears on business cards, brochures, packaging, posters, and other printed materials. Choosing the correct logo design size for print helps preserve readable lettering, clean edges, balanced proportions, and consistent visual quality. There is no universal logo size that works for every printed application. A logo on a business card may only need to be an inch or two wide, while a poster may require the same artwork at a much larger scale. Understanding how dimensions work makes it easier to prepare artwork that remains clear and proportionate without becoming blurry, distorted, or unnecessarily large.
Understanding Logo Dimensions for Print
Logo dimensions refer to the width and height of a logo in the finished printed piece. In print design, these measurements are usually expressed in inches, millimeters, or centimeters rather than pixels alone. The same logo might appear 1.5 inches wide on stationery and 8 inches wide on a poster. The design itself stays unchanged, but its physical dimensions adapt to the application.
Physical Size vs. Digital Dimensions
Physical dimensions describe how large the logo will actually appear after printing. Digital dimensions describe how much image information the file contains, usually measured in pixels when working with raster artwork. For example, a 1200-pixel-wide image could print at 4 inches wide at 300 PPI. If printed at a larger physical size, its effective resolution decreases.
Why Final Print Size Matters
Knowing the final size before preparing artwork helps determine whether the file contains enough detail. It also makes it easier to judge readability, line thickness, and spacing accurately before sending the design to print.
Vector vs. Raster Logo Sizes
File type affects how safely a logo can be resized. Vector and raster artwork behave differently when their dimensions change, which is especially important when one logo needs to work across several printed formats.
Why Vector Logos Scale More Easily
Vector logos are built from mathematically defined paths rather than fixed pixels. Formats such as AI, EPS, SVG, and many PDF files can be enlarged or reduced without losing edge sharpness.
A vector logo used on a business card can often be scaled for a poster or sign while maintaining the same clean appearance. This flexibility makes vector artwork especially useful for print. However, scaling does not automatically solve every visibility issue. Very thin lines or tiny lettering may still become difficult to reproduce when a logo is reduced significantly.
When Raster Dimensions Become Important
Raster formats such as PNG and JPEG contain a fixed number of pixels. Enlarging them beyond their available resolution can cause soft edges, jagged lines, or visible pixelation. A small logo downloaded from a website may therefore look fine on screen but perform poorly when enlarged for print.
Choosing the Right Resolution for Printed Logos
Resolution determines how much pixel detail is available within a given printed area. It becomes particularly important when using raster logo files. Around 300 pixels per inch is commonly used as a starting point for high-quality printed materials viewed at close range. Exact requirements can vary depending on the printing method, material, and printer specifications.
Calculating Pixels From the Final Print Size
A simple calculation can help determine whether a raster logo is large enough.
Multiply the intended print width by the required pixels per inch.
For a logo that needs to print 4 inches wide at 300 PPI:
4 × 300 = 1200 pixels
A 6-inch-wide logo at the same resolution would need about 1800 pixels of width.
The height should remain proportional to the original design.
Why More Pixels Are Not Always Better
An extremely large raster file does not necessarily improve print quality. Once enough resolution is available for the intended output, additional pixels may only increase file size and make the document slower to handle. Matching the image dimensions to the final application is more useful than making every logo file excessively large.

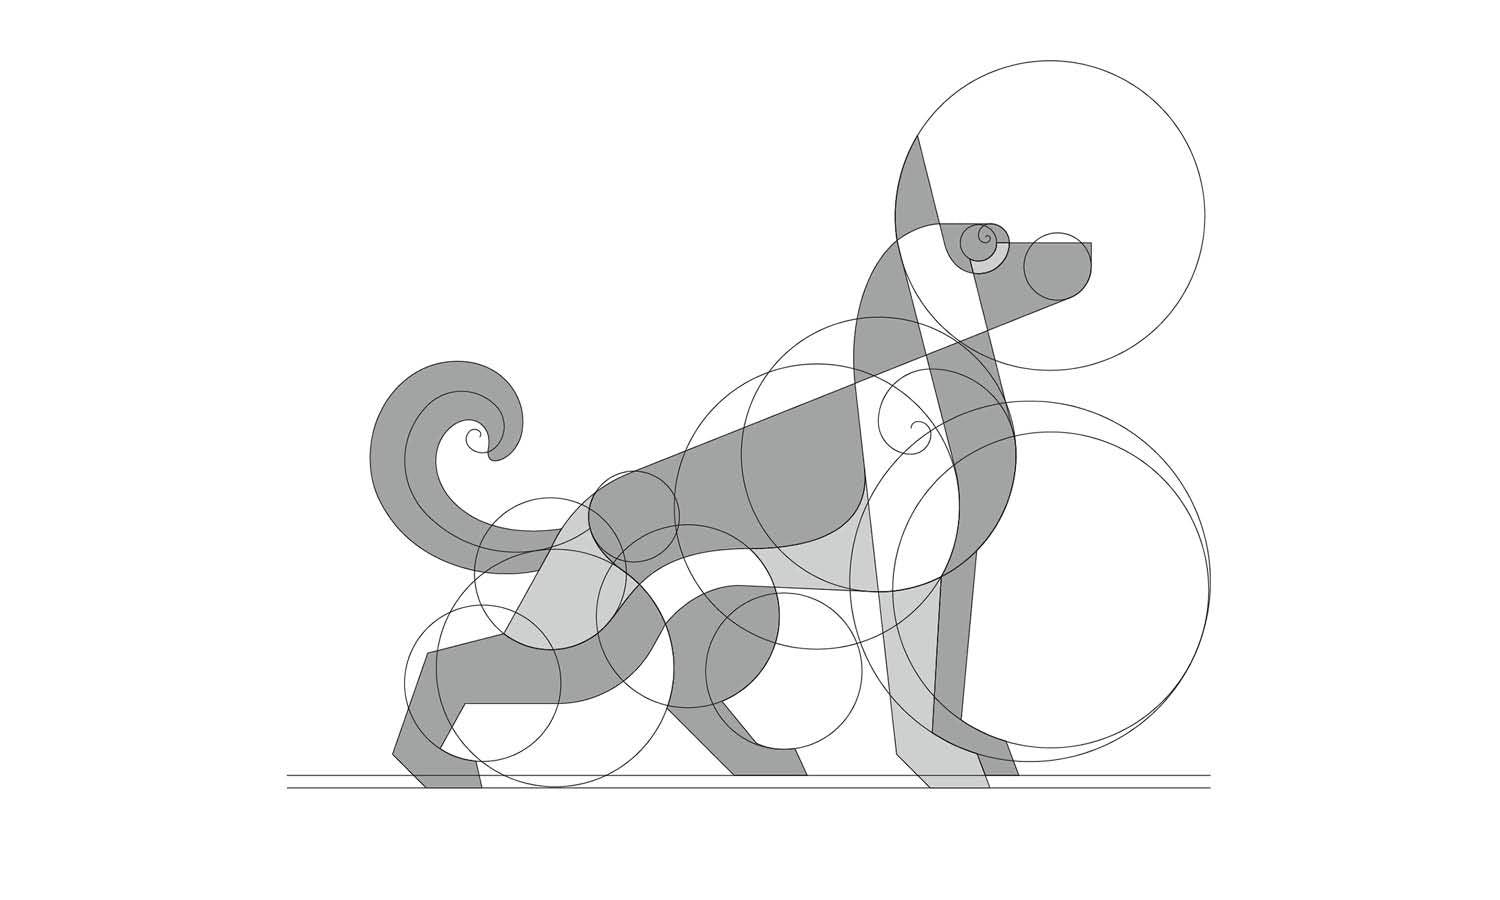
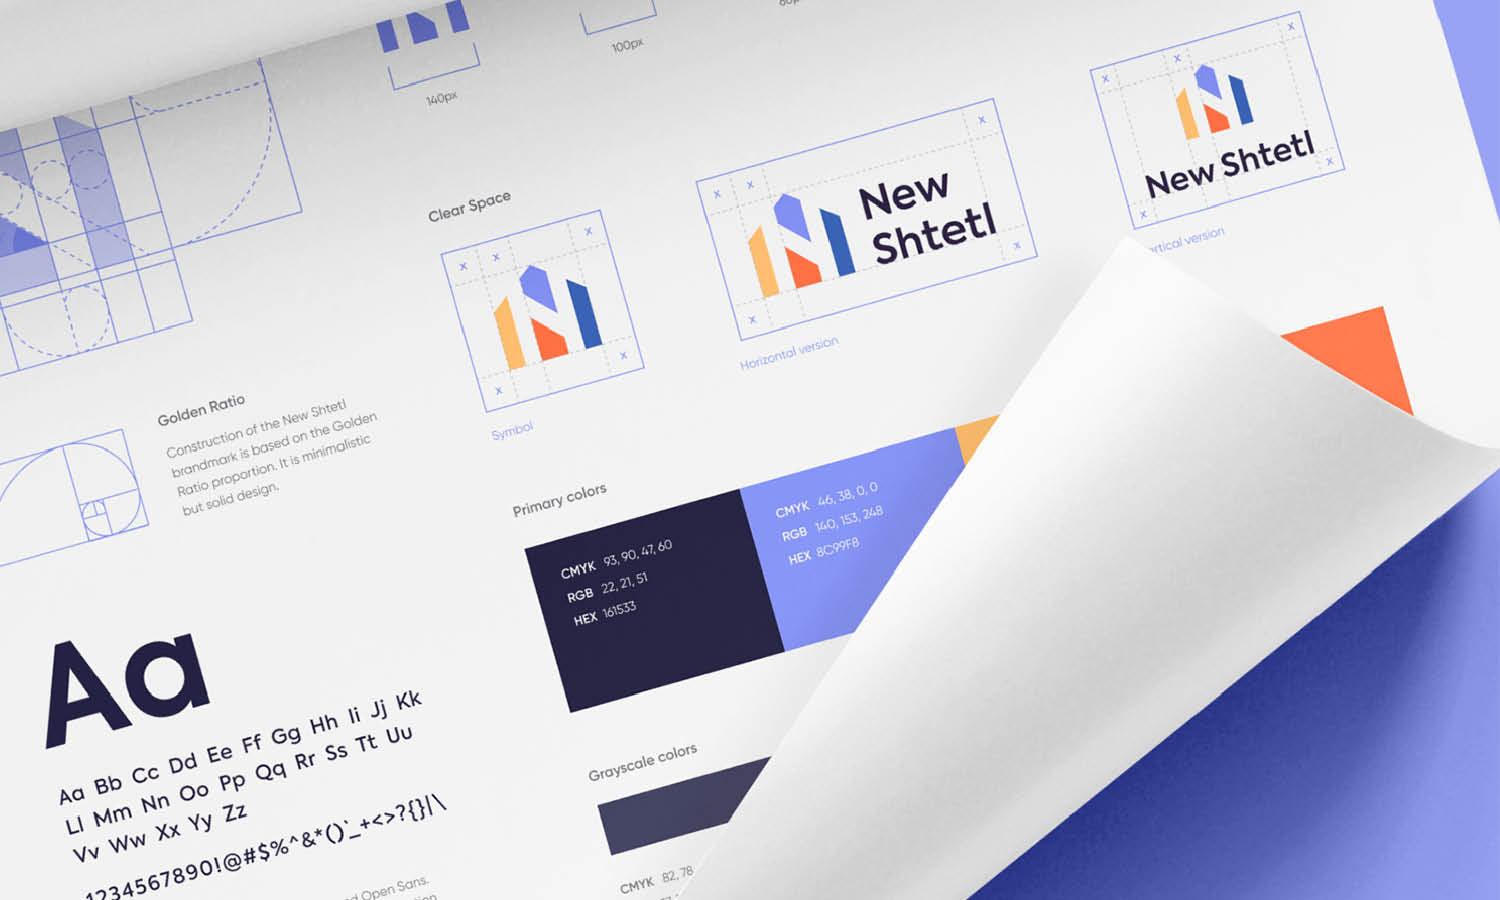
Source: Bipol Hossan, Dribbble, https://dribbble.com/shots/19111831-Web-Mobile-App-Development-Logo-and-Brand-Guidelines
Recommended Logo Sizes for Common Print Applications
The best logo design size for print depends on the printed item, available space, logo shape, and viewing distance. The following measurements are useful starting points rather than strict rules.
Business Cards
Business card logos are usually compact because they share limited space with names, contact information, and other details.
A width of roughly 1 to 2 inches works well in many layouts. Horizontal logos may require more width, while compact symbols can often remain smaller. Readability matters more than reaching a specific measurement. Fine details and small lettering should still be recognizable at actual print size.
Letterheads and Documents
Logos on letterheads are usually viewed at close range, so they rarely need to dominate the page. Around 1 to 2.5 inches wide can provide a useful starting point, depending on the logo format and page composition. The logo should remain noticeable without competing with the document content.
Brochures and Flyers
Brochures and flyers offer more flexibility because the logo size depends on its position in the visual hierarchy. A logo on the front cover may be larger, while one placed in a footer can remain relatively small. Its dimensions should support the layout rather than compete with headlines, images, or calls to action.
Posters and Large-Format Prints
Posters often require larger logos because they are viewed from farther away. Vector artwork is especially helpful here because it can be enlarged without pixelation. The logo should be large enough to remain recognizable at the expected viewing distance rather than simply scaled according to page dimensions.
Maintaining Logo Proportions When Resizing
A logo can lose its professional appearance even when the resolution is correct if its proportions become distorted. Width and height should normally scale together. Stretching a logo horizontally can make the lettering look unnaturally wide. Compressing it vertically can alter the shape of symbols and typography.
Use the Original Aspect Ratio
Lock the aspect ratio when resizing whenever possible. This allows the width and height to change together. For example, if a logo originally measures 4 inches wide and 2 inches high, reducing its width to 2 inches should also reduce its height to 1 inch. This keeps the original geometry intact.
Avoid Resizing Individual Logo Elements
A finished logo should usually be resized as one complete mark. Changing only the symbol, wordmark, or spacing can alter the intended relationship between elements. Unless an approved alternate configuration exists, keep the components together when adjusting the size.
Accounting for Clear Space and Print Placement
Choosing the correct logo design size for print involves more than deciding its width and height. The surrounding area also affects how large and visible the logo feels. A logo placed too close to text, trim lines, photographs, or other graphics can appear cramped even when its actual dimensions are correct.
Leave Enough Clear Space
Clear space is the empty area surrounding the logo. It prevents nearby elements from interfering with recognition. Brand guidelines may specify minimum clear-space requirements based on a particular letter or symbol within the logo. Following those measurements helps maintain consistency across printed materials. Without specific guidelines, leave enough room for the mark to feel visually separate from surrounding content.
Consider Viewing Distance
A logo that works on a brochure may be too small for a poster. Printed materials viewed from farther away generally require larger logos. Close-range items can support smaller marks because the viewer can see fine details more easily. Consider how the finished piece will actually be used rather than selecting dimensions based only on page size.

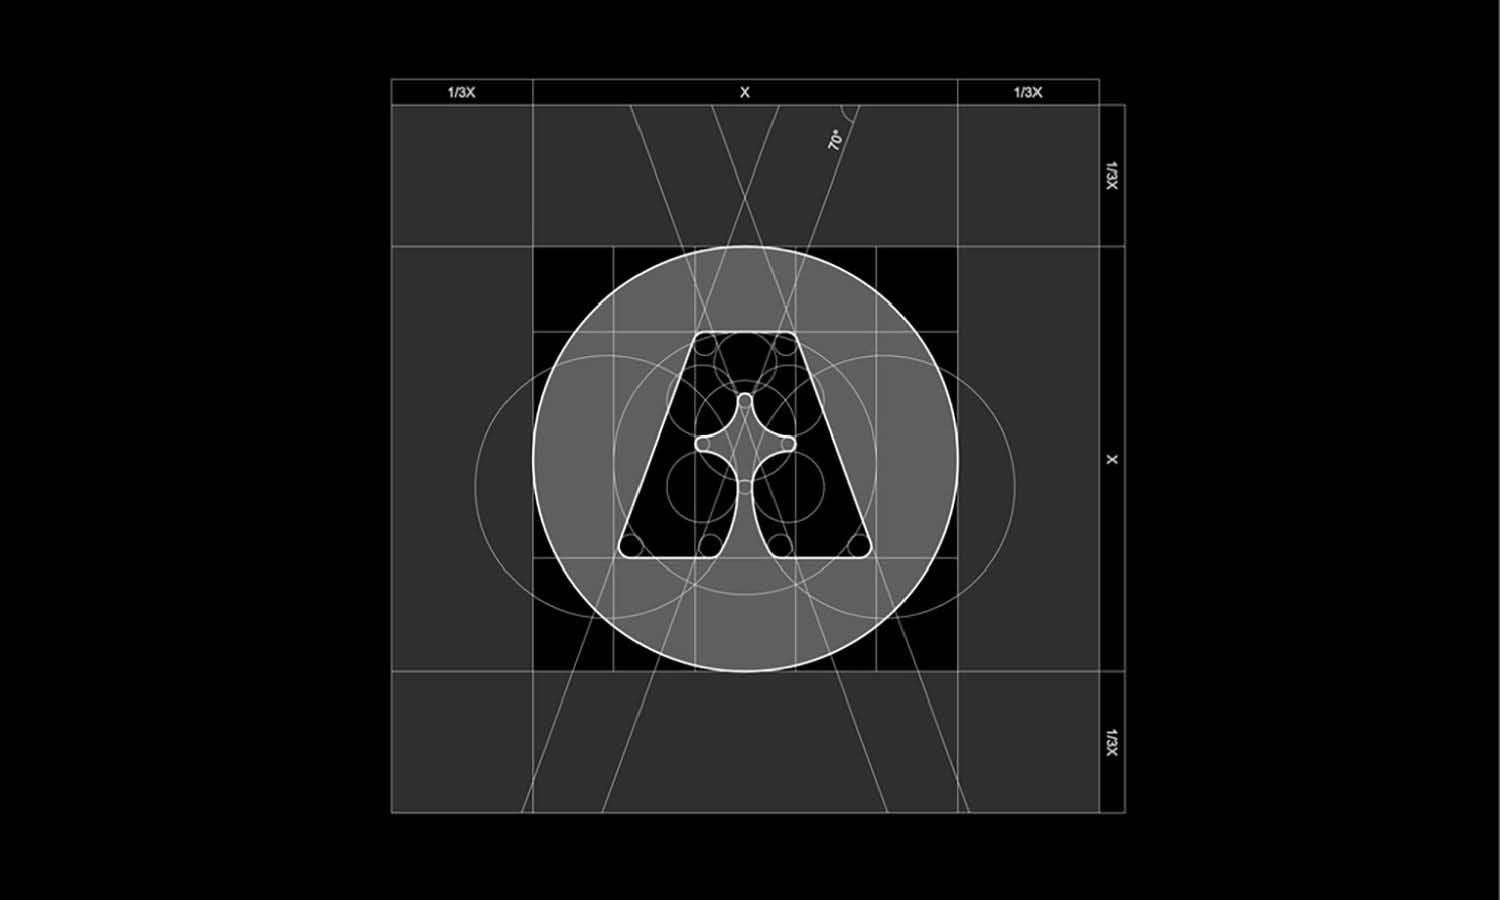
Source: Vedad Siljak, Oblivion Visual Identity, Dribbble, https://dribbble.com/shots/17356799-Oblivion-Visual-Identity
Checking Logo Size Before Sending Artwork to Print
Before exporting the final artwork, review the logo at its intended physical size rather than judging it only while zoomed in on screen. Check that small text remains readable, thin lines remain visible, and the original proportions have not changed. Make sure there is adequate clear space around the mark and that it is positioned correctly within the layout. For raster logos, confirm that the pixel dimensions provide enough resolution at the chosen print size. For vector artwork, check that the logo has not been unintentionally rasterized during export. For smaller projects such as cards, labels, or stationery, printing a test copy at 100 percent scale can be especially useful. A physical proof often reveals size and readability issues that are difficult to notice on a monitor.
Request Printer Specifications When Needed
Professional printers may provide preferred file formats, minimum resolution, bleed requirements, or other production guidelines. Use these specifications whenever they are available. Different printing processes and materials can behave differently, so confirming technical requirements before final export can prevent avoidable production problems.
Conclusion
Choosing the correct logo dimensions for print is not about following one fixed measurement. The appropriate size depends on the printed application, available space, viewing distance, and file type. Vector logos provide greater flexibility when artwork needs to scale across multiple formats, while raster logos require enough pixel information for their intended physical dimensions. Maintaining the original aspect ratio, allowing sufficient clear space, and checking readability are just as important as choosing the width and height. A reliable logo design size for print starts with understanding where and how the mark will appear. By checking dimensions, resolution, proportions, placement, and printer requirements before production, you can keep the logo clear, balanced, and consistent across printed materials.
Let Us Know What You Think!
Every information you read here are written and curated by Kreafolk's team, carefully pieced together with our creative community in mind. Did you enjoy our contents? Leave a comment below and share your thoughts. Cheers to more creative articles and inspirations!
Related Articles






Leave a Comment