How To Increase The Resolution Of A Logo Design

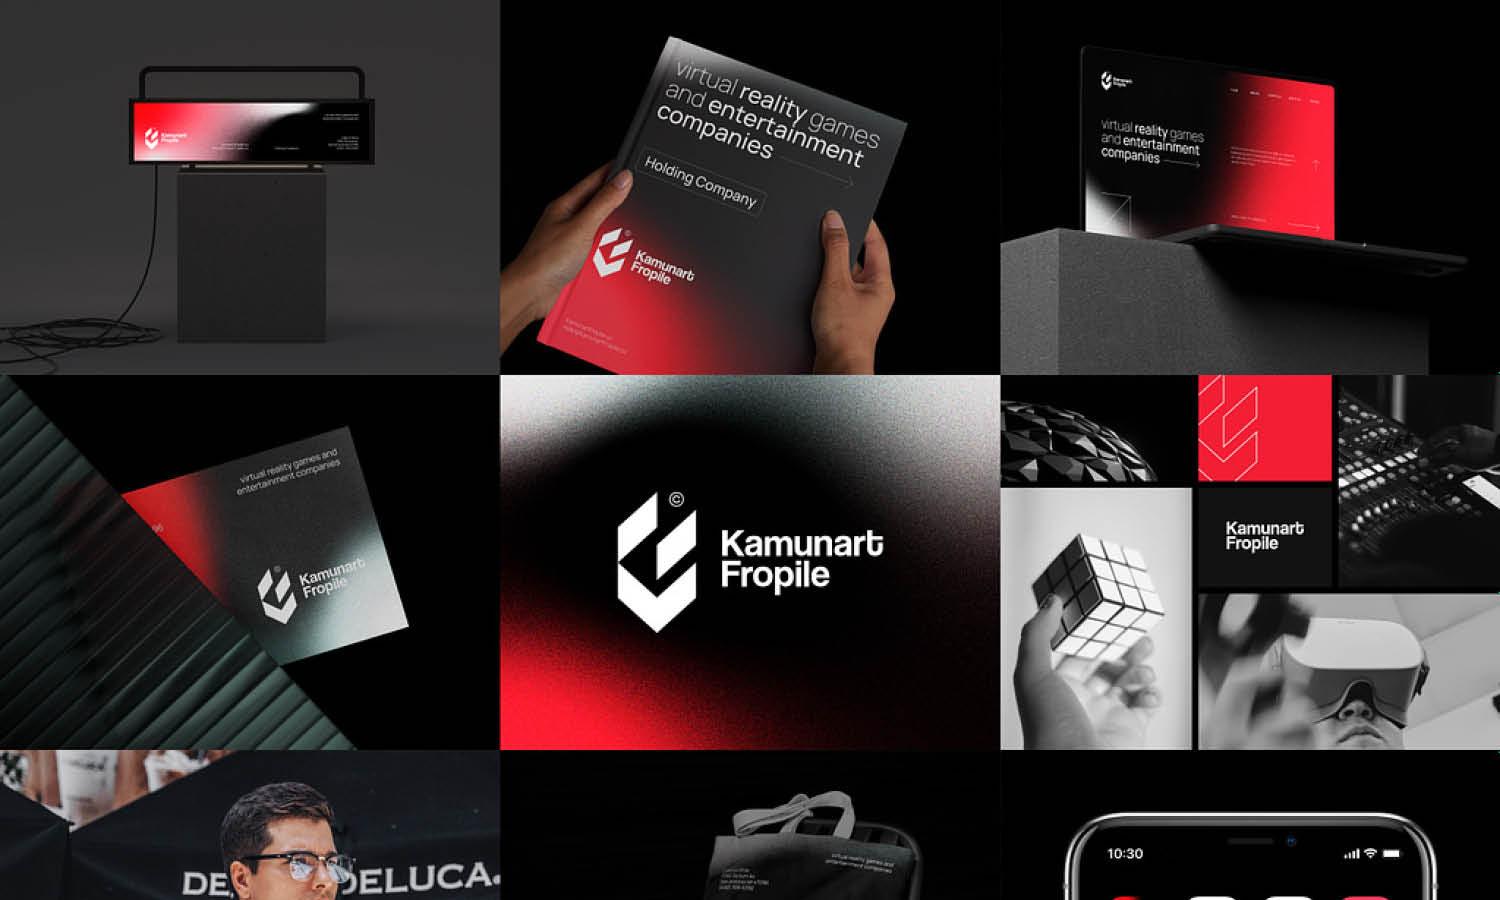
Source: Ramotion, Logo Design, Dribbble, https://dribbble.com/shots/16973971-Truebill-Branding-Logo-Design-Visual-Identity
A high-resolution logo ensures that your brand appears professional, credible, and visually appealing, no matter the medium.However, achieving high resolution is not just about scaling up an image. It requires strategic design techniques, the right tools, and an understanding of how different file formats and color profiles affect resolution. Many designers face the challenge of logos appearing pixelated, blurry, or distorted when resized or printed. These issues can be avoided by following best practices in logo design resolution.
This article explores effective methods for increasing the resolution of a logo design. From using vector graphics to exporting in multiple resolutions, each technique is crafted to enhance the logo’s clarity and sharpness. Whether you’re a professional designer or a business owner looking to refine your brand image, these practical tips will help you create a high-resolution logo that stands out with precision and professionalism.
Start With Vector Graphics
Starting with vector graphics is one of the most effective ways to ensure high resolution in logo design. Unlike raster images, which are made up of pixels, vector graphics use mathematical equations to create shapes, lines, and colors. This allows the logo to be scaled infinitely without losing clarity or becoming pixelated.
Vector graphics maintain their resolution because they are not dependent on a fixed number of pixels. Whether the logo is displayed on a small business card or a large billboard, it remains sharp and crisp. This is especially important for maintaining brand consistency across various platforms and media.
Design software such as Adobe Illustrator, CorelDRAW, and Inkscape are excellent tools for creating vector-based logos. These programs offer precise control over shapes, lines, and typography, allowing designers to refine every detail. Additionally, vector graphics are easy to edit, enabling adjustments to be made without compromising the resolution.
By starting with vector graphics, designers can export the logo in multiple file formats such as SVG, EPS, or PDF. These formats preserve the vector properties, ensuring that the logo retains its high resolution when used for print, web, or digital applications.
Use High-Quality Design Software
Using high-quality design software is essential for creating high-resolution logo designs. Professional tools such as Adobe Illustrator, Affinity Designer, and CorelDRAW offer advanced features that ensure precision, scalability, and clarity. These programs are specifically designed to handle vector graphics, which are crucial for maintaining resolution regardless of size adjustments.
High-quality design software allows designers to work with detailed vectors, sharp typography, and precise color management. This level of control prevents pixelation and distortion, which are common issues with low-resolution images. Additionally, these tools support exporting logos in multiple resolutions and formats, including SVG, EPS, and PDF, which are ideal for both digital and print usage.
One of the significant advantages of using premium design software is the ability to maintain layer integrity and editability. Designers can easily modify elements, adjust color schemes, and fine-tune typography without losing resolution. Moreover, these programs often include anti-aliasing features that smooth out jagged edges, ensuring a polished and professional appearance.
Free or basic design tools might compromise the resolution and overall quality of the logo. Investing in high-quality software provides the flexibility and advanced functionalities needed to produce high-resolution logos that look sharp and consistent across all platforms.
Design At A Larger Size
Designing at a larger size is a strategic approach to ensure high resolution in logo design. When you start the design process with a larger canvas, you retain more detail and clarity, which translates to better resolution when the logo is scaled down. This practice minimizes the risk of pixelation or blurriness, ensuring that the logo appears sharp and professional across various sizes and platforms.
By working with a larger design, you can fine-tune intricate elements, such as typography, line weights, and iconography, without losing definition. This is particularly important for logos that include detailed graphics or complex patterns. Designing at a larger scale allows for precise adjustments, maintaining the integrity of each component even when resized.
Additionally, larger designs provide more flexibility for future use cases, such as billboards, posters, or digital displays. It is easier to downscale a high-resolution logo than to upscale a smaller one, which could result in distortion and loss of detail. Therefore, starting large ensures that your logo maintains its quality and impact regardless of the medium.

Source: DAINOGO, Giraffe Logo - For Sale, Dribbble, https://dribbble.com/shots/18532162-Giraffe-Logo-For-Sale
Export In Multiple Resolutions
Exporting in multiple resolutions is a crucial step in maintaining high resolution for logo designs. Different platforms require different resolutions, and by exporting in multiple sizes, you ensure that your logo appears sharp and clear everywhere it’s displayed. This approach prevents issues such as pixelation, distortion, or blurriness, which can compromise the professionalism and impact of your logo.
When exporting, consider the intended use of the logo. For digital platforms, resolutions of 72 dpi are generally sufficient, while print materials require higher resolutions of at least 300 dpi to maintain crispness and clarity. Exporting in multiple resolutions ensures that the logo looks polished on both digital screens and printed media.
File formats also play a significant role in preserving resolution. Vector-based formats like SVG, EPS, and PDF are ideal for scalable uses, while raster formats like PNG and JPEG are suitable for web and social media. Exporting in a variety of formats and resolutions guarantees that your logo remains adaptable and high-quality, regardless of the medium.
Professional design software like Adobe Illustrator, Affinity Designer, and CorelDRAW offer advanced exporting options that allow you to specify resolution, file format, and color profile.
Save As Scalable File Formats
Saving your logo design in scalable file formats is essential for maintaining high resolution across different applications. Scalable formats, such as SVG, EPS, and PDF, use vector graphics, which are resolution-independent. This means the logo can be resized to any dimension without losing clarity or becoming pixelated, ensuring it looks sharp on everything from business cards to billboards.
Vector-based file formats work by using mathematical equations to create shapes, lines, and colors, rather than pixels. This allows the logo to maintain its crisp edges and intricate details regardless of size adjustments. Unlike raster images (like JPEGs or PNGs), which can become distorted when scaled up, vector formats remain perfectly clear and precise.
SVG (Scalable Vector Graphics) is ideal for digital use, such as websites and mobile applications, because it supports responsiveness and scalability. EPS (Encapsulated PostScript) is widely used in professional printing, ensuring high resolution and color accuracy. PDF (Portable Document Format) is versatile for both print and digital purposes, preserving layers, vectors, and resolution.
Utilize High-Resolution Images
Utilizing high-resolution images is crucial when incorporating raster elements into a logo design. High-resolution images typically have a minimum of 300 dpi (dots per inch), ensuring sharpness and clarity, especially in print applications. Using low-resolution images can result in pixelation, blurriness, and a loss of professionalism, ultimately diminishing the logo's impact.
When integrating photos, textures, or raster-based graphics into a logo, start with the highest resolution available. This allows you to scale down the image as needed without losing quality. Conversely, upscaling low-resolution images often leads to distortion and a noticeable decline in resolution, making the logo appear unrefined.
It’s essential to choose images that complement the vector elements of the logo. If using stock photos or illustrations, select files that are specifically marked as high-resolution or print-quality. This ensures seamless integration and maintains consistency in resolution across all components of the logo.
For best results, work with professional design software like Adobe Illustrator or Photoshop, which supports high-resolution images and advanced exporting options. When saving the final logo, choose formats like PNG or JPEG with minimal compression to preserve the image quality.
Avoid Rasterizing Text And Shapes
Avoiding the rasterization of text and shapes is essential for maintaining high resolution in logo design. Rasterization converts vector elements into pixels, which can lead to pixelation and loss of clarity when the logo is scaled up or down. To preserve sharpness and scalability, it is best to keep text and shapes as editable vectors throughout the design process.
Vector graphics are resolution-independent, meaning they maintain crisp lines and clear edges at any size. By keeping text and shapes in vector format, you ensure that the logo remains sharp and professional, whether displayed on a small business card or a large billboard. Rasterizing these elements prematurely can limit the logo’s versatility and affect its resolution across different media.
When designing in professional tools like Adobe Illustrator or CorelDRAW, avoid using effects or filters that require rasterization. Instead, use vector-based alternatives such as gradients, outlines, and shape modifications that maintain editability and resolution integrity.
If rasterization is absolutely necessary for specific effects or textures, do so at the highest resolution possible and keep a backup of the vector version. This ensures that you can easily make future adjustments without compromising resolution.

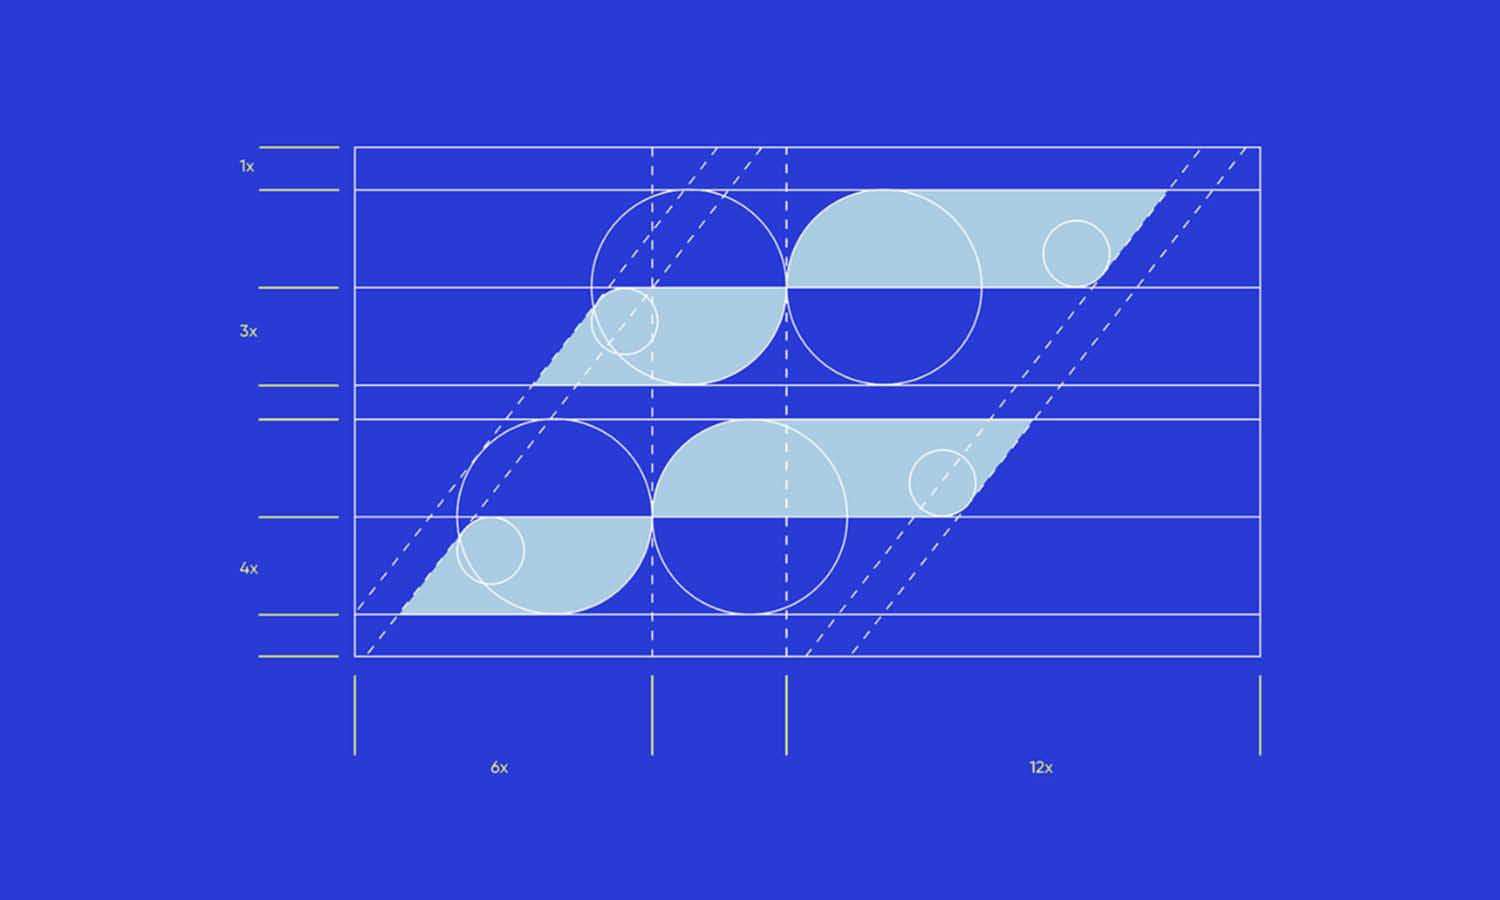
Source: DR - Construction 01, Dribbble, https://dribbble.com/shots/14373469-DR-construction-01
Optimize Line Weights
Optimizing line weights is a crucial step in maintaining high resolution in logo design. Line weights refer to the thickness of lines used in the logo's elements, including shapes, icons, and typography. Choosing the right line weights ensures that the logo remains clear, balanced, and legible across different sizes and resolutions.
Thin lines may appear crisp on a digital screen but can become invisible or distorted when printed or displayed on smaller devices. Conversely, overly thick lines can make the logo look bulky and reduce its elegance. Therefore, it’s essential to strike a balance that maintains the logo’s resolution and visual appeal at all sizes.
To optimize line weights, consider the primary use of the logo—whether it will be used digitally, in print, or on large-scale signage. Test the logo at different resolutions and sizes to ensure that the lines maintain their sharpness and clarity. Professional design software like Adobe Illustrator allows you to easily adjust line weights and preview the logo at various scales.
Using vector graphics is particularly beneficial, as line weights remain resolution-independent and scalable without pixelation. Additionally, avoid using strokes that are too detailed or intricate, as they may not translate well in smaller resolutions.
Apply Anti-Aliasing Techniques
Applying anti-aliasing techniques is essential for maintaining high resolution in logo design, especially when working with digital formats. Anti-aliasing smooths the jagged edges of curved lines and diagonal elements by blending the colors of edge pixels. This technique enhances the perceived resolution, giving the logo a polished and professional appearance.
In digital design, jagged edges occur because of the square nature of pixels. Anti-aliasing softens these edges by adding transitional colors between the object and the background, creating a smooth visual effect. This is particularly useful for text and rounded shapes, ensuring that they look sharp and clean at any size or resolution.
Professional design software such as Adobe Illustrator and Photoshop provide advanced anti-aliasing settings. These settings allow you to adjust the strength and type of anti-aliasing, depending on the intended use of the logo. For example, “Sharp” or “Crisp” anti-aliasing is ideal for web use, while “Smooth” is better suited for larger print applications.
It’s crucial to preview the logo at various sizes and resolutions to ensure that the anti-aliasing effects are consistent and effective. This prevents the logo from looking blurry or distorted on different devices or platforms.
Test Across Devices And Platforms
Testing across devices and platforms is a vital step in ensuring high resolution and consistency in logo design. A logo that looks sharp on one device might appear pixelated or distorted on another due to differences in screen resolution, size, and color calibration. To maintain professional quality, it is essential to test the logo on a variety of devices and platforms.
Start by previewing the logo on different screen sizes, including desktops, tablets, and smartphones. Pay attention to how the resolution and clarity are affected when the logo is scaled up or down. Additionally, test on different operating systems and browsers to ensure consistent display and resolution.
For digital use, evaluate the logo on both standard and high-resolution displays, such as Retina screens, which require higher pixel density for sharpness. In print applications, test the logo on different materials and at various sizes to ensure it maintains its resolution and visual impact.
It’s also important to consider the platforms where the logo will be used, such as websites, social media, or print advertisements. Each platform may have unique resolution requirements and display settings that can affect the logo’s appearance.
Conclusion
Maintaining high resolution in logo design is essential for ensuring clarity, professionalism, and brand impact across all mediums. By utilizing vector graphics, selecting scalable file formats, optimizing line weights, and applying anti-aliasing techniques, you can achieve crisp and sharp logos that look stunning on any platform. Additionally, testing the logo on multiple devices and exporting it in various resolutions guarantees consistent quality. By implementing these best practices, you create a versatile and high-resolution logo that effectively represents your brand, maintaining its visual appeal and integrity in both digital and print applications.
If you want to create a unique and professional logo for your business, consider using the services of Turbologo. This is a convenient and intuitive tool that allows you to quickly and easily create a logo that meets your requirements and preferences. With a wide selection of templates and customization options, you can design a logo that perfectly reflects the essence of your brand and attracts customer attention.
Let Us Know What You Think!
Every information you read here are written and curated by Kreafolk's team, carefully pieced together with our creative community in mind. Did you enjoy our contents? Leave a comment below and share your thoughts. Cheers to more creative articles and inspirations!





Leave a Comment