
How To Print Logo Designs on T-Shirts

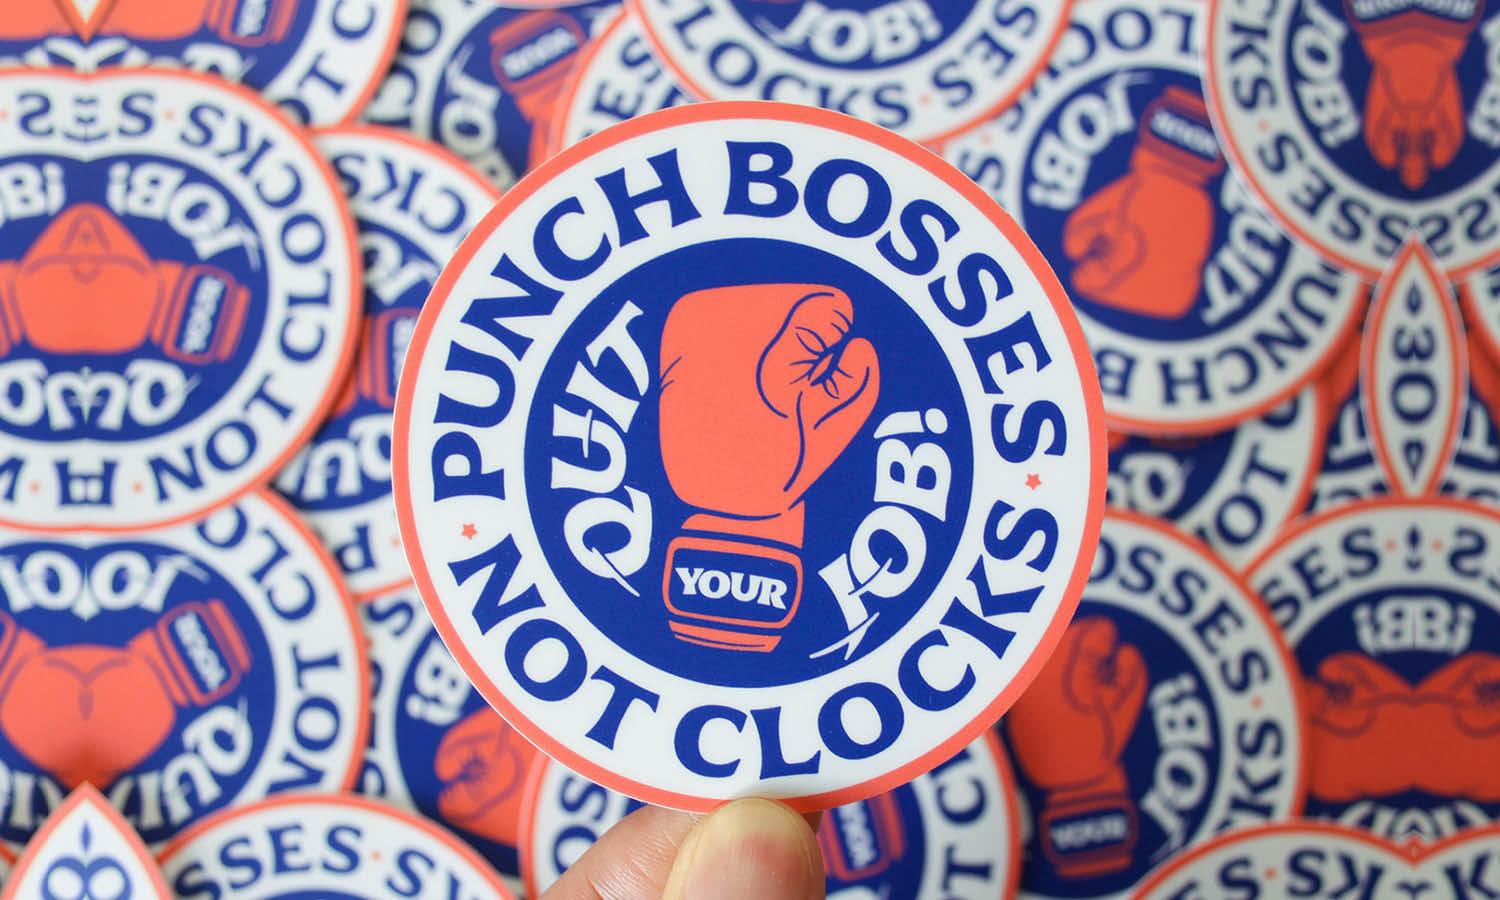
Source: Ryan Lynn, Lucky - Onshore Screenprinting, Dribbble, https://dribbble.com/shots/17459608-Lucky-Onshore-Screenprinting
Printing a logo on a T-shirt may look straightforward, but the quality of the result depends on more than simply placing artwork onto fabric. The printing method, shirt material, logo file, placement, and finishing process all affect how clean and durable the finished design will be. A logo that looks sharp on a computer screen can lose detail, shift in color, or sit awkwardly once printed if these factors are overlooked. Learning how to print logo on t-Shirts properly helps you make better decisions before production begins, whether you are preparing branded apparel, merchandise, uniforms, or a small custom batch.
Choose the Right T-Shirt Printing Method
The printing technique has a major influence on how the logo looks and feels. Some methods are better for bold graphics, while others handle detailed artwork or small production runs more effectively.
Screen Printing
Screen printing works especially well for logos with solid shapes and a limited number of colors. Ink is pushed through a prepared screen onto the fabric, producing strong coverage and a durable finish. Because each color normally requires its own screen, this method becomes more efficient when printing larger quantities of the same design.
Direct-to-Garment Printing
Direct-to-garment, or DTG, printing applies ink directly onto the shirt using specialized equipment. It is useful for logos with gradients, fine details, or several colors because it does not require separate screens for each shade. Cotton and cotton-rich garments generally provide the most suitable surface for this process.
Heat Transfer and DTF Printing
Heat transfer methods apply a prepared design using heat and pressure. Direct-to-film, commonly called DTF, uses a printed film that transfers the artwork onto the garment. These methods work well for smaller orders, detailed logos, and designs containing multiple colors.
Vinyl Cutting
Heat-transfer vinyl is suitable for simple logos, names, numbers, and lettering. The artwork is cut from colored vinyl and pressed onto the fabric. It produces clean edges but becomes less convenient when a design contains many tiny elements or several colors.
Prepare the Logo Artwork for Printing
Good printing starts with good artwork. Even professional equipment cannot fully correct a logo file that is blurry, incorrectly sized, or poorly prepared.
Start With a High-Quality Logo File
Vector files such as AI, EPS, or SVG are especially useful because they can be resized without losing sharpness. If you are using raster artwork such as PNG or JPEG, make sure the image has enough resolution for the intended print size. Enlarging a small image can create visible pixelation and rough edges.
Check Colors and Transparency
Make sure the artwork contains the correct colors and that unwanted backgrounds have been removed. A transparent background is often necessary when the logo needs to sit naturally against the shirt rather than inside a visible rectangular area.
Simplify Details When Necessary
Very thin lines, tiny text, or intricate shapes may become difficult to reproduce clearly on fabric. Slightly simplifying these elements can improve readability without changing the character of the logo.
Choose the Right T-Shirt for the Logo
The garment is part of the printing process, not simply a surface that receives the design. Fabric type, color, and construction can all influence the result.
Consider the Fabric
Cotton is commonly used for screen printing and DTG because it accepts many textile inks well. Polyester often requires processes and materials designed specifically for synthetic fibers, particularly when heat is involved. Cotton-polyester blends can work with several techniques, although results may vary depending on the blend ratio.
Consider the Shirt Color
A logo printed on white fabric may behave differently from the same artwork printed on black or navy. Dark shirts often require an opaque white base or transfer layer beneath lighter colors so the artwork remains visible. The garment color also becomes part of the visual composition. Check that there is enough contrast between the logo and the shirt.
Check the Printing Surface
Avoid placing important details directly over thick seams, zippers, pockets, or heavily textured areas unless the printing method is designed to handle them. A smooth, flat surface usually gives more consistent contact and cleaner results.

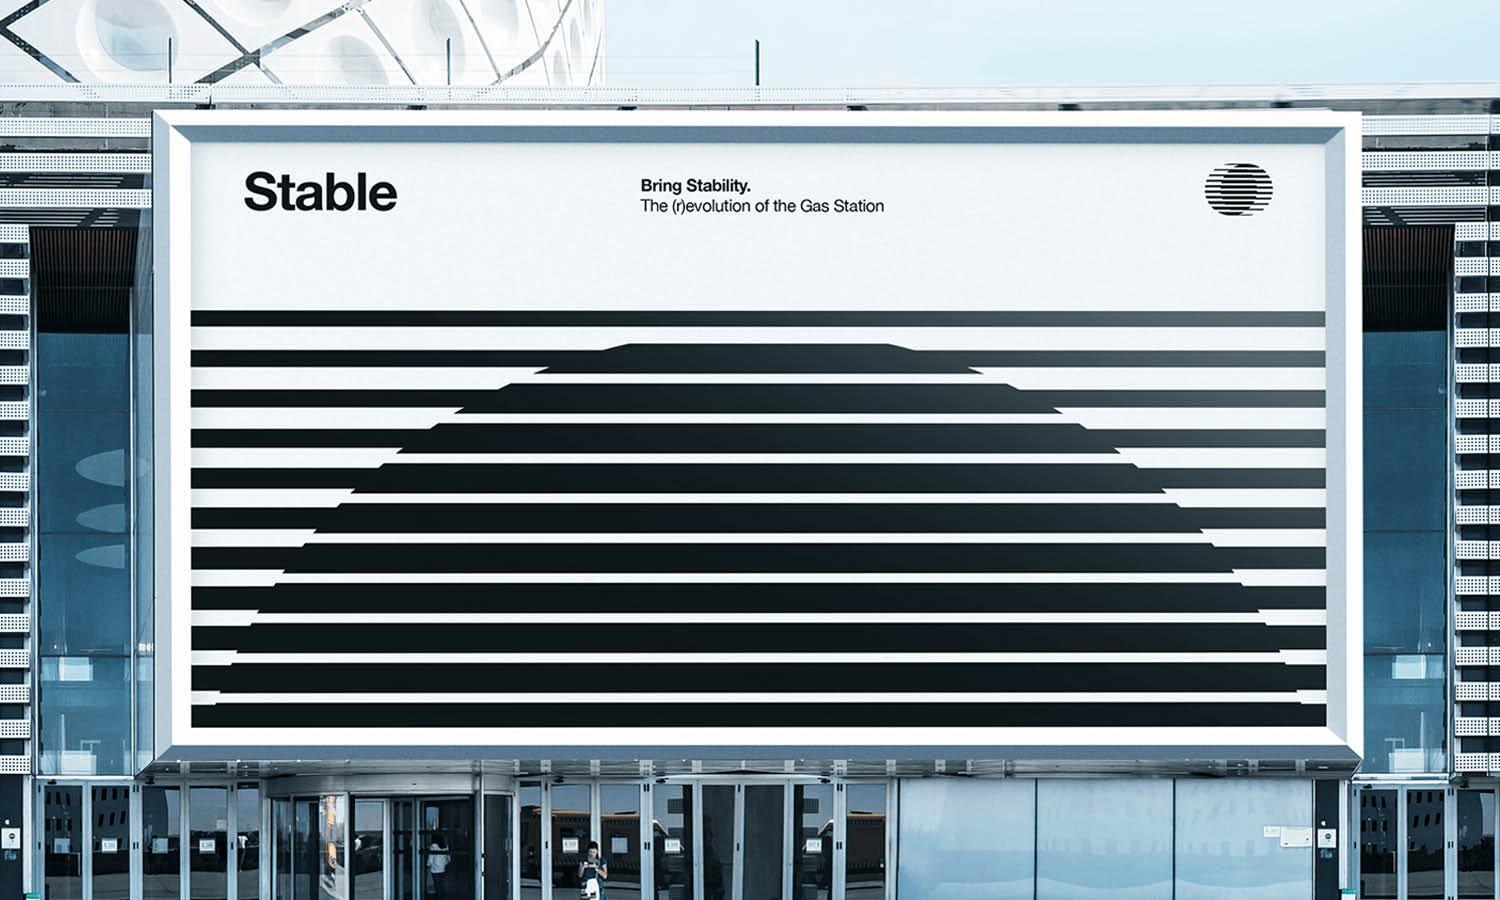
Source: Muhammad Ali Effendy, Centurion Brand Identity, Dribbble, https://dribbble.com/shots/19622026-Centurion-Brand-Identity
Size and Position the Logo Correctly
A technically perfect print can still look wrong when it is too large, too small, or badly positioned. Placement should feel balanced in relation to the garment.
Choose an Appropriate Logo Size
Think about how the shirt will actually be viewed. A small chest logo normally needs different dimensions from a large back print. Rather than relying on one standard size for every garment, consider the shirt size, logo proportions, and amount of surrounding space. Wide logos may need less height, while compact symbols can often be printed slightly larger without overwhelming the shirt.
Select the Placement
Popular placements include the center chest, left chest, upper back, full back, and sleeve. A left-chest logo generally feels understated and professional, while a centered or full-back design creates greater visibility. Measure placement from consistent points such as the collar, shoulder seams, or center line rather than positioning entirely by eye.
Test Before Printing
Print the logo on paper at its intended dimensions and place it over the shirt. This simple test can reveal sizing and positioning problems before any ink, vinyl, or transfer material is used.
Print the Logo on the T-Shirt
Once the artwork, shirt, size, and method are prepared, the logo can be applied. The exact technique varies, but careful setup remains important regardless of the process.
Prepare the Shirt
Make sure the garment is clean, dry, and reasonably smooth. Wrinkles can interfere with alignment and prevent even contact during heat application or printing. Lay the shirt flat and identify its center line when necessary. Some printers briefly pre-press garments before applying transfers to remove moisture and flatten the printing area.
Align the Logo
Position the artwork using measurements rather than guessing. Check the distance from the collar or seams and confirm that the logo is level. For repeated production, a placement guide or alignment template can help maintain consistency from one shirt to the next.
Apply the Logo
For screen printing, the shirt is positioned beneath the screen and ink is pulled across the stencil to transfer the artwork. With DTG, the prepared shirt is placed inside the printer and the artwork is applied directly to the fabric. DTF and other transfer methods require the printed transfer to be positioned on the shirt before heat and pressure are applied. Vinyl follows a similar principle, although the design must first be cut and weeded. Follow the recommended temperature, pressure, ink coverage, or application settings for the specific materials being used. Using excessive heat or pressure does not necessarily improve adhesion and can damage both the print and the garment.
Inspect the Print
Check the logo as soon as the process allows. Look for missing areas, shifted artwork, uneven coverage, lifting edges, or obvious alignment problems. Detecting issues early is especially important before repeating the same setup across multiple shirts.
Cure or Finish the Printed Logo Properly
Printing is not complete until the design has been properly cured or finished. This stage helps the ink or transfer achieve the durability it was designed to provide.
Follow the Required Curing Method
Screen-printing inks may require heat curing, while DTG prints often need controlled heat after printing. Transfers and vinyl depend on specific combinations of temperature, pressure, and pressing time. Follow the requirements for the exact ink or transfer material rather than relying on one universal setting. Too little heat can weaken adhesion, while excessive heat may scorch fabric, distort colors, or damage the printed layer.
Let the Shirt Cool or Set
Some transfer materials need to cool before the carrier sheet is removed, while others are designed for warm or immediate peeling. Allow the finished shirt to set according to the material instructions before folding, stretching, or washing it.

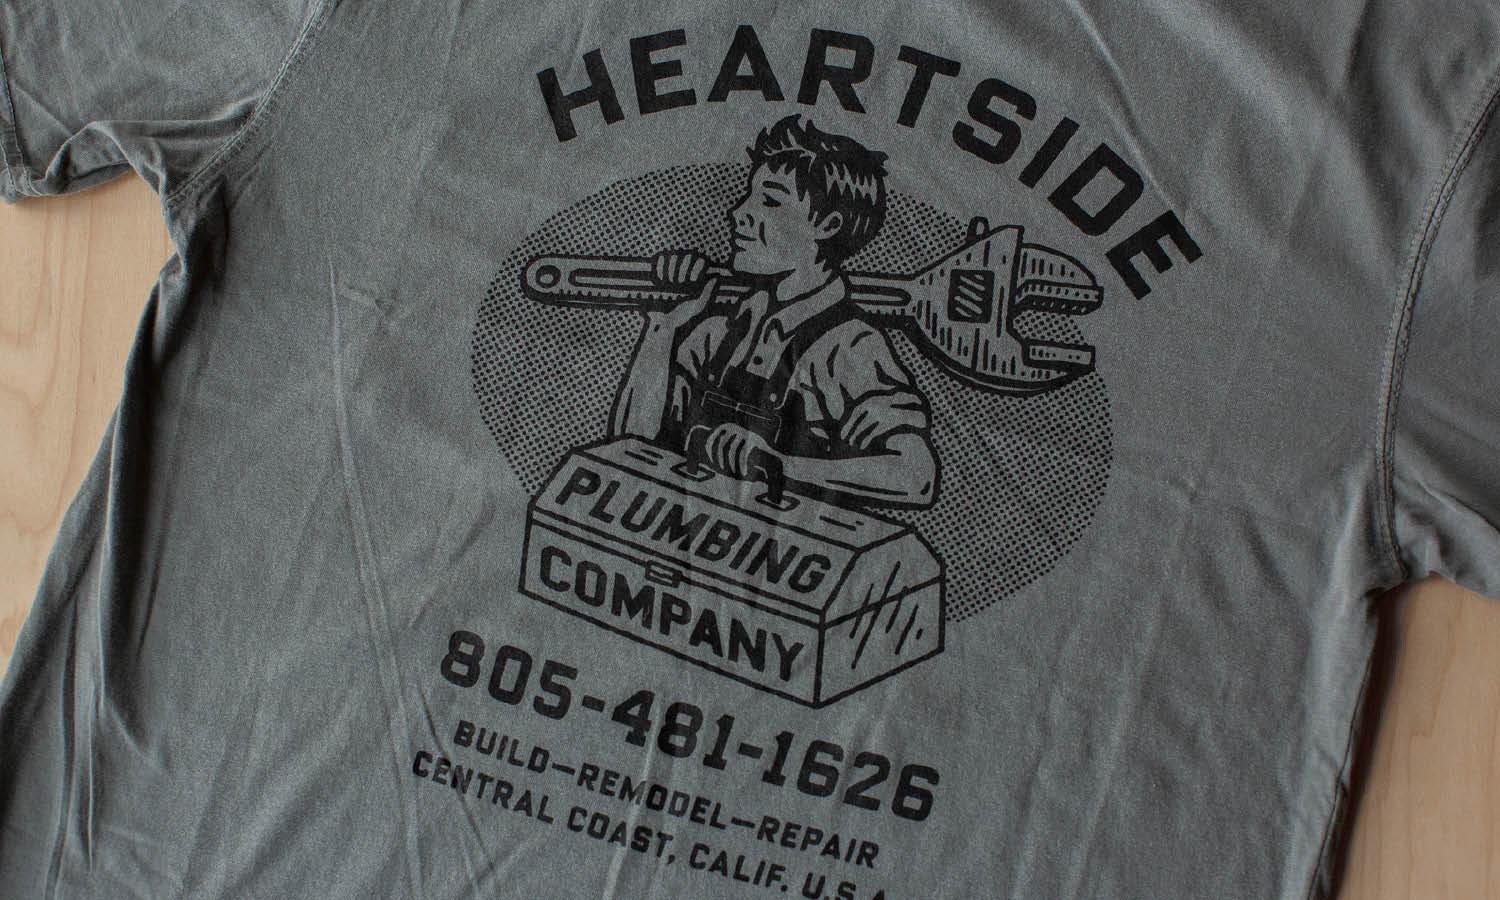
Source: Alex Arseni, Awaydays, Dribbble, https://dribbble.com/shots/12327236-Awaydays
Avoid Common T-Shirt Logo Printing Mistakes
Many printing problems come from preparation rather than the printing equipment itself.
Using Low-Resolution Artwork
A small or compressed image can produce jagged edges and blurry text when enlarged. Start with the cleanest logo file available and check it at the actual print dimensions.
Choosing the Wrong Printing Method
A detailed multicolor logo may be inconvenient for basic vinyl cutting, while a one-off shirt may not justify a complex screen-printing setup. Match the process to the artwork, fabric, and quantity.
Incorrect Heat or Pressure
Transfers can peel when they receive insufficient heat or pressure. Excessive settings can create shine, scorching, or fabric damage. Use settings appropriate for both the transfer material and garment.
Misaligned Logo Placement
Even a small positioning error can become noticeable on a symmetrical shirt. Measure from reliable garment reference points instead of depending solely on visual judgment.
Skipping a Test Print
A test shirt can reveal issues with size, contrast, color, placement, and application before the full batch is produced. It is often easier to correct one sample than remake several finished garments.
Check the Final Print Before Production
Before producing multiple shirts, inspect a completed sample carefully. Confirm that the logo sits at the intended height and remains visually balanced when the shirt is worn rather than only when it is lying flat. Look closely at small lettering, thin lines, edges, and areas of solid color. Make sure details are readable and coverage is consistent. Compare the printed piece with the original artwork to identify unexpected changes in proportions or color. For projects where long-term durability matters, wash-testing a sample can be especially useful. Follow the normal care instructions, then inspect the design for peeling, cracking, fading, or other changes.
Conclusion
Learning how to print a logo on T-shirts successfully comes down to making several small decisions work together. Start with clean artwork, choose a printing method that suits the design and fabric, and give careful attention to size and placement. Proper application and curing then help the logo remain sharp and secure after the shirt leaves the printing table. Testing a sample before producing a larger batch also gives you a chance to catch problems while they are still easy to correct. With the right preparation, a printed logo can look balanced, professional, and well suited to the garment itself.
Let Us Know What You Think!
Every information you read here are written and curated by Kreafolk's team, carefully pieced together with our creative community in mind. Did you enjoy our contents? Leave a comment below and share your thoughts. Cheers to more creative articles and inspirations!
Related Articles







Leave a Comment