How To Print A Logo Design Without Getting Pixelated
Source: Menta, Pomerium, Behance, https://www.behance.net/gallery/163731021/Pomerium
Printing a logo impeccably is crucial for maintaining the integrity and impact of your brand's visual identity. When it comes to transferring a digital logo to a physical format, the challenge often lies in preserving the sharpness and clarity of the design, avoiding the dreaded pixelation that can diminish its professional appearance. This guide aims to equip you with essential tips and techniques to ensure that your logo looks as polished in print as it does on your screen. Whether you're preparing business cards, promotional materials, or corporate merchandise, understanding the intricacies of printing high-quality logos is key.
We'll explore how to choose the right file formats, adjust resolutions, and select the best printing methods to achieve flawless results. Ensuring your logo is printed without pixelation not only reflects well on your brand but also enhances its recognition and trustworthiness in the eyes of your audience. Let’s dive into the best practices for printing your logo design to ensure it remains crisp and clear, no matter the medium.
Choose the Right Resolution
Ensuring your logo retains its quality when printed starts with choosing the right resolution. The term resolution refers to the number of pixels per inch (PPI) in digital graphics, which translates to dots per inch (DPI) in printed materials. For logo printing, a resolution of at least 300 DPI is recommended to avoid any pixelation, ensuring your design remains crisp and detailed on physical media. This high resolution is crucial for professional-looking prints, especially for larger formats or materials where every detail counts. When setting up your logo file, check the resolution settings in your graphic design software and adjust accordingly before saving.
It’s also important to maintain this resolution across all elements of your logo to ensure uniform clarity. If your logo includes raster images, consider increasing the resolution to compensate for any scaling that might occur during the printing process. By prioritizing high resolution, you safeguard your logo’s visual integrity, making a more professional and lasting impression.
Use Vector Files
When it comes to printing logos without pixelation, vector files are your best choice. Unlike raster images that are made up of pixels and can lose clarity when scaled, vector graphics are composed of paths, which are defined by mathematical equations allowing them to be resized without any loss of quality. This attribute makes vector files such as SVG, AI, or EPS ideal for logos that need to be printed on varying sizes and materials. Using vector files ensures that every curve and line of your logo remains smooth and sharp, regardless of how much they are enlarged or reduced.
This scalability makes vectors particularly valuable for everything from tiny business cards to large banners. Most graphic design software provides options to create and save these types of files, and converting your logo into a vector format is a worthwhile step for maintaining quality in print. By using vector files for your logos, you ensure that they remain pixelation-free, preserving the professionalism and clarity of your brand’s visual identity.
Check Image Dimensions
To ensure your logo design prints clearly and without pixelation, it's crucial to check and adjust the image dimensions before printing. This step involves verifying that the digital dimensions of your logo match the physical dimensions at which it will be printed. For instance, if your logo is to be printed on a standard business card, the digital file should ideally match the typical business card size, approximately 3.5 x 2 inches. This alignment helps prevent the need for scaling, which can often result in a loss of image quality and clarity. To adjust the dimensions, you can use graphic design software to set the exact size requirements and preview how your logo looks at different scales.
Make sure to maintain a balance between the actual size and the resolution, keeping both parameters high enough to prevent any pixelation. This proactive approach allows you to anticipate how the logo will appear on the final product and make necessary adjustments to ensure optimal print quality. Keeping your logo’s dimensions tailored for their intended use not only enhances the appearance but also reinforces your brand’s professional image.
Source: Ramotion, Stable Brand Identity, Behance, https://www.behance.net/gallery/113111611/Stable-Brand-Design
Select the Appropriate File Format
Choosing the right file format is essential for printing a high-quality logo without pixelation. For most printing needs, vector formats such as PDF, EPS, or SVG are preferred because they retain high resolution at any size. These formats are ideal for logos because they use precise paths and shapes that are scalable and maintain clarity when printed, regardless of the size of the print. Alternatively, if a raster image must be used, formats like TIFF or high-quality PNG are suitable due to their ability to handle high resolutions and support transparent backgrounds. When preparing a logo for print, ensure that the file format you choose supports CMYK color mode, which is required for full-color printing processes.
This conversion from RGB (common in digital graphics) to CMYK can significantly impact how colors render in print, so selecting a format that maintains color fidelity is crucial. Additionally, some formats like PDF allow for the embedding of fonts and other design elements, ensuring that your logo appears exactly as intended when printed. By selecting the appropriate file format, you ensure the best possible reproduction of your logo, keeping it sharp, clear, and true to your brand’s standards.
Incorporate Bleed and Safe Zones
Incorporating bleed and safe zones is a critical step in preparing your logo for print to ensure it appears professional and is not inadvertently trimmed or misaligned. A bleed is the area that extends beyond the edge of where the cut will be made in your final printed piece. Typically, adding an extra 1/8 inch (about 3 mm) to each side of your design can create an adequate bleed, ensuring that no unprinted edges occur in the final product if the cutting is slightly off. Safe zones, on the other hand, are guidelines within the interior of your design which safeguard all critical elements of your logo from being cut off.
Keeping text, logos, and essential graphics at least 1/8 inch away from the edge of the finished product size helps to maintain the integrity of your design. This precaution is particularly important for smaller printed items like business cards, where space is at a premium. By clearly defining these zones in your design file, you can prevent important details from disappearing during the cutting phase, which could detract from the logo’s impact and professionalism.
Perform Pre-Print Checks
Performing pre-print checks is essential to ensure that your logo will print correctly and without pixelation. Before sending your design to print, it is crucial to review a proof of your logo. A proof is a preliminary version of your printed piece that allows you to confirm the layout, colors, and details before the full run is produced. This step can help you catch any errors that might have been overlooked during the design process, such as color misrepresentations or pixelation that can occur if image resolutions are not high enough. It's also important to check overprint settings to ensure that colors overlap correctly and don't inadvertently create unwanted hues or obscure details.
Additionally, verifying that all fonts are embedded and that file formats are correct can save time and expense by preventing issues during the printing process. Many professional printers offer digital proofs, but if possible, requesting a physical proof can provide a more accurate representation of the final product. This proactive approach not only enhances the quality of the printed logo but also ensures that it accurately represents your brand’s visual identity.
Opt for High-Quality Paper
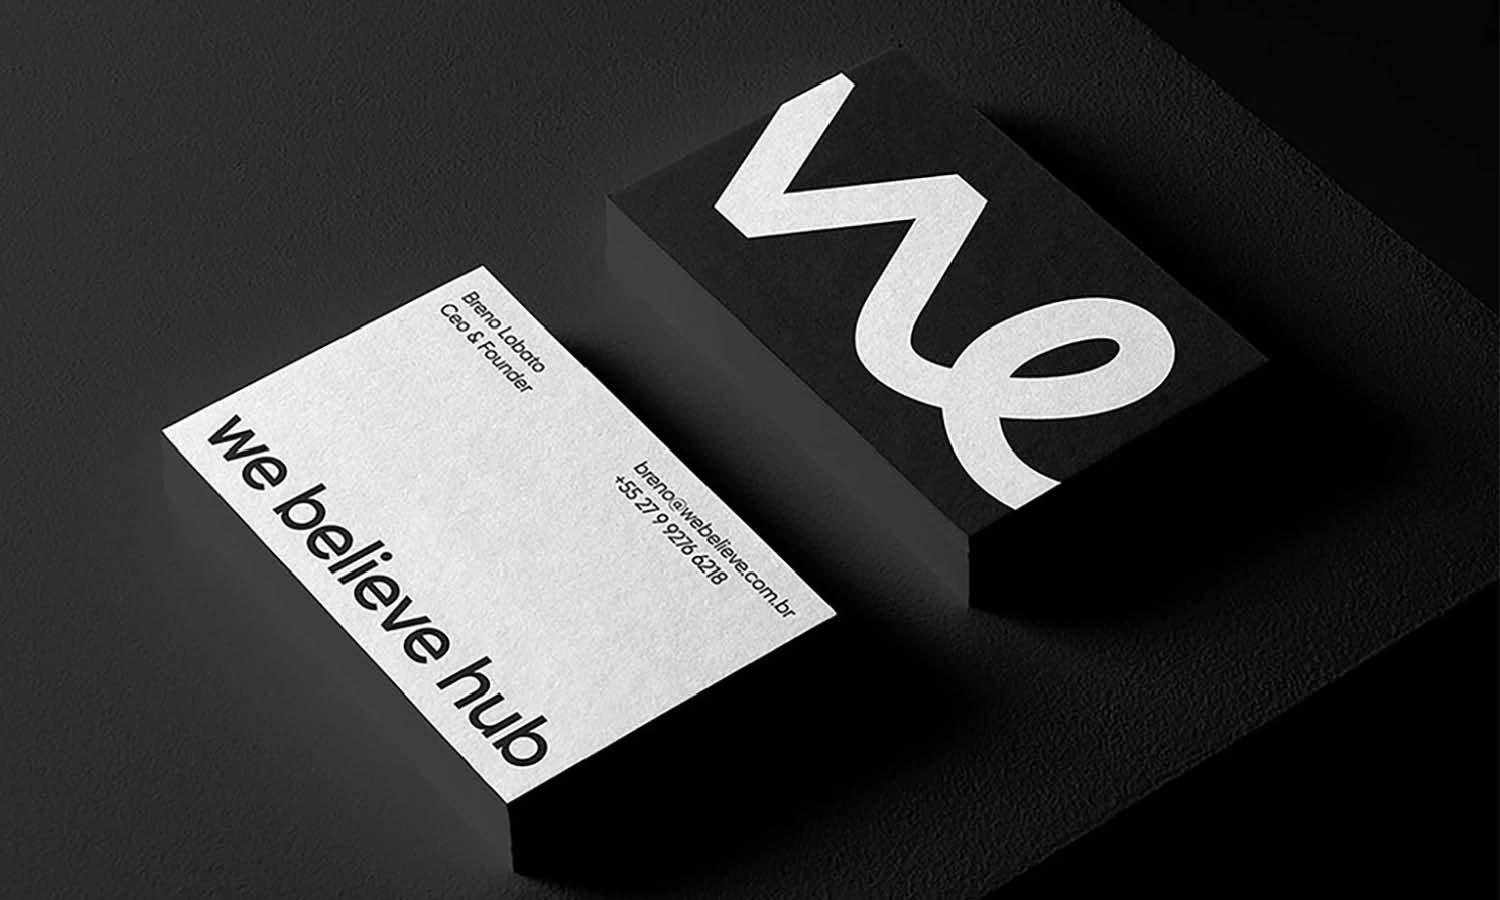
Choosing high-quality paper is crucial when printing your logo to ensure that the final product reflects the professionalism of your brand. The type of paper you select can greatly affect the appearance of your printed logo, influencing factors such as color accuracy, contrast, and overall visual impact. For most professional applications, thicker and heavier paper grades offer better durability and a more premium feel. Matte papers can provide a more subdued, elegant look, which is ideal for sophisticated brands, while glossy finishes can make colors more vibrant and eye-catching, suitable for more dynamic logos.
Additionally, consider the opacity of the paper to prevent bleed-through, especially when your materials will feature printing on both sides. The choice of paper should also be compatible with the printing method used, whether it be digital or offset, as some papers are better suited to specific types of printing processes. Using archival-quality paper can also be beneficial for ensuring that printed materials last longer without fading.
Source: Andstudio, Extrica, Behance, https://www.behance.net/gallery/158473925/Extrica
Adjust Contrast and Saturation
Adjusting the contrast and saturation of your logo before printing is an important step to ensure that it appears clear and vibrant on the final printed material. Increased contrast can help to make your logo more readable and impactful, especially if it's being printed at a smaller size where fine details are less discernible. Be cautious, however, as too much contrast can lead to loss of detail in darker areas of the design. Saturation adjustments can also enhance the vividness of your logo’s colors, making them pop and stand out. However, it's essential to strike a balance, as overly saturated colors may look unrealistic and can vary dramatically between your screen and the printed product.
It’s advisable to conduct tests by printing samples with slight variations in contrast and saturation settings to see how these changes affect the physical output. Consider the type of paper and printing method as they can influence how colors and contrast appear in the final product. By fine-tuning these aspects, you can ensure that your logo is visually appealing and maintains its integrity across various print media.
Use Anti-Aliasing Techniques
Anti-aliasing is a crucial technique used in digital graphics to smooth out the edges of images, making them appear less jagged and more natural when printed. This process is especially important for logos, as sharp and clear lines contribute to the professional appearance of your brand. Anti-aliasing works by adding slight shades of gray or color around the edges of an image, blending the boundary pixels between an object and its background. This technique reduces the stark contrast between these pixels, preventing the pixelation that can occur when graphics are enlarged or printed.
When preparing your logo for print, ensure that anti-aliasing settings are correctly applied in your graphic design software. This is typically an option that can be toggled on or adjusted depending on the type of graphic (text, vector, or raster). Applying anti-aliasing can be particularly beneficial for complex logos or those with diagonal or curved lines.
Use Professional Printing Services
Utilizing professional printing services is key to achieving high-quality prints of your logo design. Professional printers have access to advanced printing technology and high-grade materials that can significantly enhance the quality of your printed logos. These services often offer a range of printing methods, such as offset printing for large volumes or digital printing for vibrant color accuracy and smaller batches, each suitable for different types of print jobs.
Additionally, professional printers can provide valuable advice on the best practices for reproducing your logo, including the ideal paper type, printing method, and finishing options to enhance the durability and appearance of the print. They also typically offer proofing services, where you can review a sample print to make any necessary adjustments before the full run is produced.
This step ensures that your logo looks exactly as intended and is free from any defects or unexpected results. Investing in professional printing services helps guarantee that your logo is not only free from pixelation but also reflects the professionalism and quality of your brand.
Conclusion
Printing a logo perfectly embodies the essence of your brand, requiring meticulous attention to detail to prevent pixelation and maintain visual integrity. By choosing the correct resolution, utilizing vector files, and selecting appropriate paper and printing techniques, you ensure that your logo looks as polished in print as it does digitally. Additionally, incorporating anti-aliasing techniques and professional printing services can further enhance the quality of the final product. These best practices are pivotal in creating a printed logo that accurately represents your brand’s professionalism and leaves a lasting impression.
Let Us Know What You Think!
Every information you read here are written and curated by Kreafolk's team, carefully pieced together with our creative community in mind. Did you enjoy our contents? Leave a comment below and share your thoughts. Cheers to more creative articles and inspirations!


Leave a Comment