
How to Print Logo Designs on Products

Source: Mustafa Akulker, Roys Natural Skincare, Behance, https://www.behance.net/gallery/153206699/Roys-Natural-Skincare
Printing a logo on a physical product is where a digital brand identity becomes tangible. A design that looks sharp on screen can behave differently when applied to fabric, glass, metal, plastic, wood, or another surface. Color, texture, size, placement, and the printing method all influence the finished result. If you plan to print logo on products for retail, merchandise, promotional use, or branded goods, careful preparation can prevent costly mistakes. The process starts with understanding the product material, choosing a compatible printing method, preparing the artwork correctly, and checking the result before full production. The goal is not simply to place a logo on an object, but to reproduce it clearly, consistently, and appropriately for the product.
Check the Product Material Before Printing
The product material should be one of your first considerations because it affects which printing methods will work well. A technique suited to a cotton bag may perform poorly on coated metal or curved plastic.
Identify the Surface Material
Determine exactly what the product is made from. Common materials include plastic, stainless steel, aluminum, glass, ceramic, cotton, polyester, leather, and wood. Each surface reacts differently to ink, heat, pressure, and other production processes. Some materials also require special inks, coatings, or preparation before the logo can be applied successfully.
Consider the Product Shape
Flat products usually provide more printing flexibility, while curved, cylindrical, recessed, or irregular objects can limit your choices. Focus on the actual printable area rather than the overall dimensions of the product. A bottle, pen, mug, tool handle, and notebook cover all have different usable spaces.
Check Surface Coatings and Finishes
Gloss, varnish, paint, powder coating, and textured finishes can affect ink adhesion. Some surfaces may need cleaning, priming, or pretreatment before production begins.
Choose the Right Method to Print Logo on Products
There is no single printing method that works equally well for every product. Your choice should depend on the material, shape, logo complexity, number of colors, quantity, and expected durability.
Screen Printing
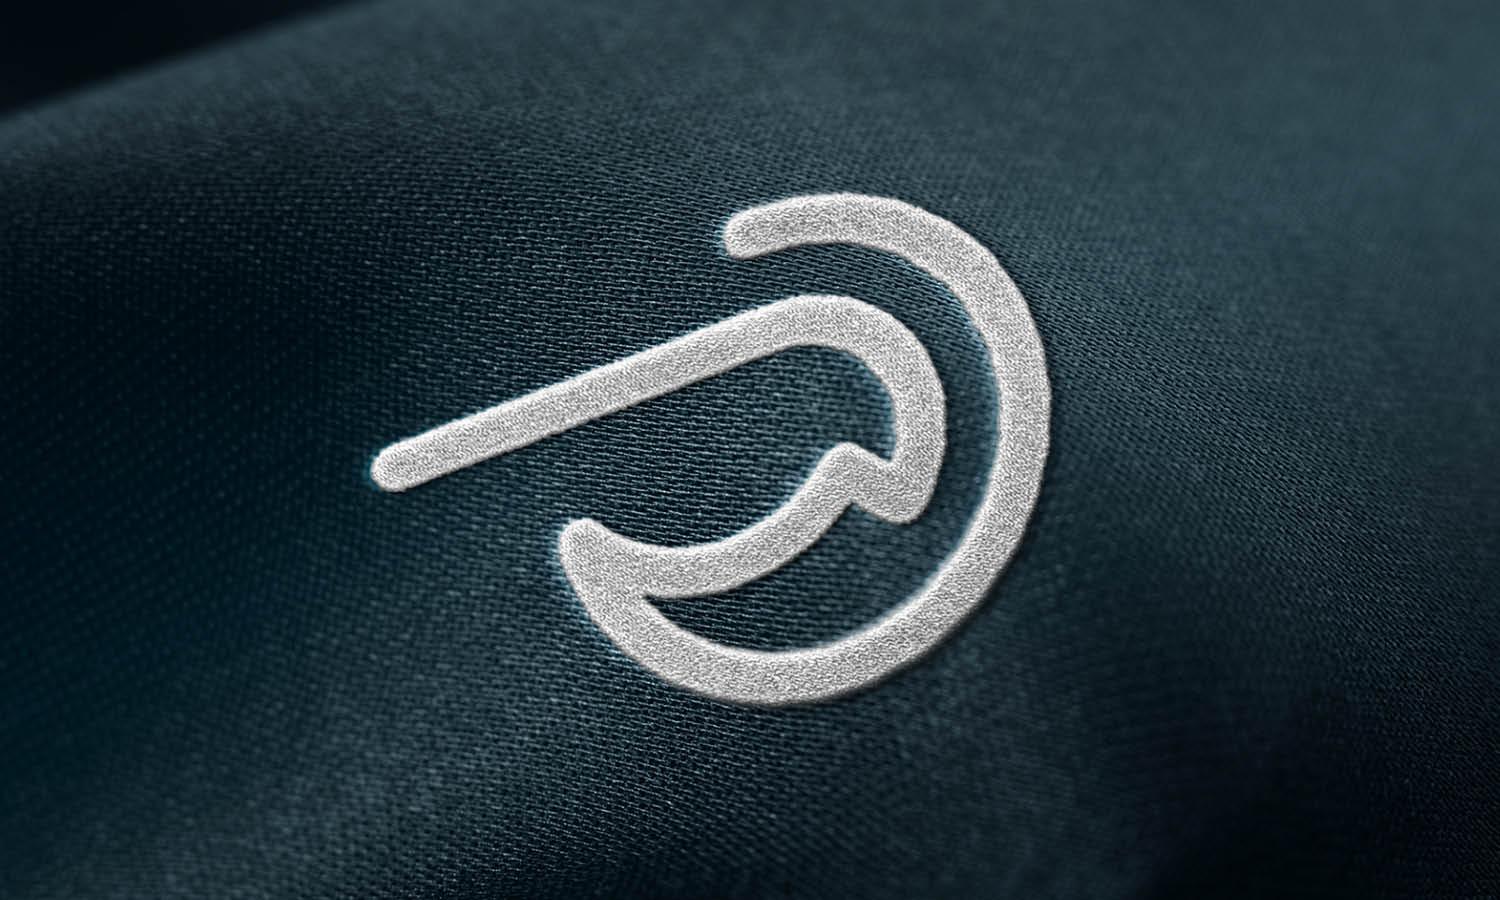
Screen printing works well for bold graphics, solid colors, and relatively simple logo designs. It is commonly used for clothing, bags, promotional items, and some rigid products.
It can produce strong color coverage and is especially efficient for larger quantities. Very detailed logos may need to be simplified.
Pad Printing
Pad printing is useful for small, curved, recessed, or irregular surfaces. A flexible silicone pad transfers the design onto the product and can conform to shapes that are difficult to print using flat methods. It is often used for pens, tools, electronic accessories, caps, and small promotional products.
UV Printing
UV printing uses inks that cure quickly under ultraviolet light. It can reproduce detailed, multicolor artwork on many rigid surfaces, including suitable plastics, acrylic, metal, glass, and wood. It is particularly useful when a logo contains several colors or fine details.
Heat Transfer and Sublimation
Heat-transfer methods use heat and pressure to apply artwork to compatible surfaces. They are widely used for garments, bags, and coated promotional products. Sublimation works especially well on polyester and specially coated items. It can create vibrant results but requires compatible materials.
Laser Engraving
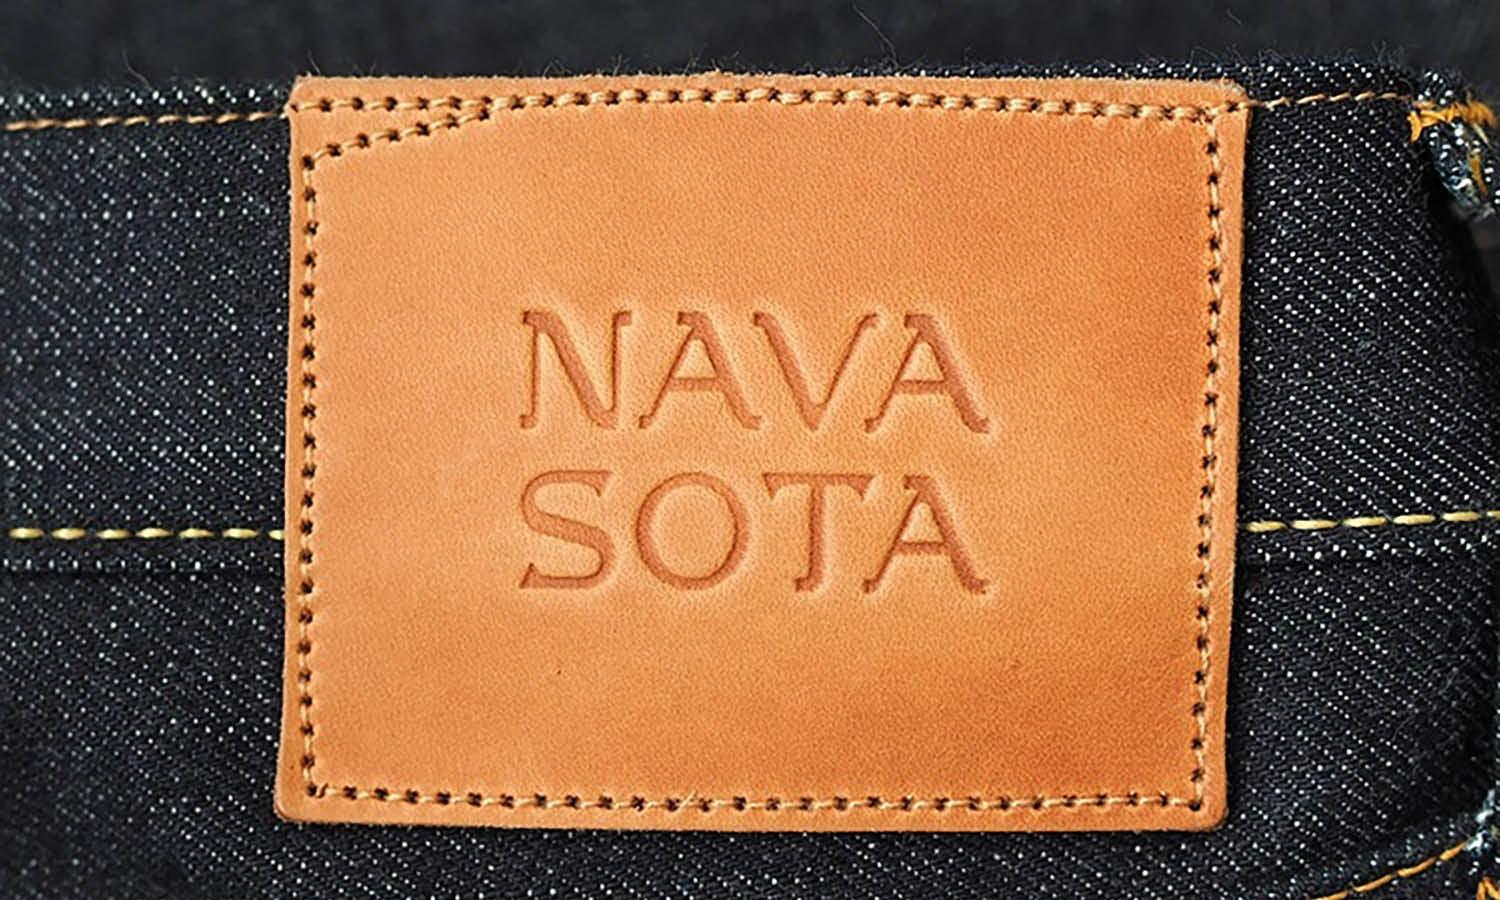
Laser engraving removes or alters the product surface rather than adding ink. It is commonly used on metal, wood, leather, and certain plastics. The result is usually highly durable, although the final appearance depends on the underlying material.
Prepare the Logo File for Product Printing
Proper artwork preparation makes production easier and helps prevent blurry, distorted, or incomplete results.
Use Vector Artwork When Possible
Vector files are usually preferred because they can be resized without losing sharpness. Common formats include AI, EPS, SVG, and properly prepared PDF files. Vector artwork is especially useful when the same logo needs to appear at several different sizes.
Convert Fonts and Check Artwork
Convert lettering to outlines before sending the file so the printer does not need your original fonts. Inspect thin strokes, tiny lettering, narrow gaps, and intricate elements. Details that look clear at a large size may disappear when the logo is reduced.
Set Up Colors Correctly
Different production methods require different color setups. Your printer may request CMYK artwork, spot colors, or specific Pantone references. For important brand colors, provide clear specifications rather than relying only on how they appear on a monitor.
Prepare Alternative Logo Versions
A full-color logo may not work on every product. Keep one-color, reversed, and simplified versions available. A detailed logo might reproduce well with UV printing but need a simpler version for engraving or pad printing.

Source: Daps, Bowen, Behance, https://www.behance.net/gallery/136175169/Bowen-Skincare
Decide on Logo Size and Placement
Good placement makes the logo feel like part of the product rather than an element added afterward.
Match the Logo to the Printable Area
Printers usually provide a maximum printable area. This is a technical limit, not a space that must be completely filled. Leaving enough surrounding space often creates a cleaner and more balanced result.
Consider How the Product Is Used
Think about how someone holds, carries, opens, wears, or displays the item. A logo positioned beneath a grip, beside a seam, or on a hidden surface may lose visibility. Placement should work with the product's natural orientation.
Maintain Clear Space Around the Logo
Avoid placing the logo too close to handles, buttons, seams, edges, lids, or decorative features. Adequate clear space improves readability and keeps the design from feeling crowded.
Check Orientation
For bottles, mugs, containers, and similar items, confirm which direction the logo should face. Handles, openings, lids, and other fixed features can help establish consistent positioning.
Create a Print-Ready Production File
Once the method, size, and placement are confirmed, prepare a production file that communicates these decisions clearly.
Confirm Final Dimensions
Specify the exact width and height of the logo. Instructions such as “make it large” or “center it” can create unnecessary confusion. Exact measurements are particularly useful for repeat orders and larger production runs.
Include Placement Instructions
Use a mockup or production diagram to show where the logo should appear. When needed, include measurements from edges, seams, handles, or other fixed points.
Follow the Printer's File Requirements
Technical requirements vary between suppliers. One printer may request vector PDFs, while another may require spot-color layers, a specific resolution, or a particular template. Following the supplier's specifications reduces production problems.
Request a Sample or Proof Before Full Production
A physical proof lets you see how the logo works on the actual product before approving a larger order.
Review Color Reproduction
Product color, surface texture, ink, and finish can all affect the final appearance. Compare the proof with your approved brand colors under normal lighting. Dark, metallic, transparent, or brightly colored products may require additional adjustments for stronger contrast.
Inspect Small Details
Check thin lines, small lettering, narrow gaps, and tiny shapes. Look for blurred edges, filled spaces, broken strokes, or missing details. If problems appear, simplifying the artwork may produce a better result.
Test Position and Scale
Hold or use the product naturally. A logo that seems perfectly positioned in a digital mockup may feel too large, small, high, or low on the actual item.
Check Durability When Relevant
Products that will be washed, handled frequently, or used outdoors may need durability testing. Depending on the item, this can include rubbing, scratching, washing, or adhesion checks.

Source: Studio Fable, Anoma Beauty - Identity Design, Behance, https://www.behance.net/gallery/166033045/Anoma-Beauty-Identity-Design
Avoid Common Product Logo Printing Problems
Many printing problems result from a mismatch between the artwork, surface, and production method.
Using Artwork That Is Too Detailed
Tiny text, fine lines, and narrow gaps can become difficult to reproduce at small sizes. A simplified logo often works better when the printable area is limited.
Choosing a Method That Does Not Suit the Material
A process that works well on one surface may fail on another. Poor compatibility can cause cracking, peeling, fading, weak adhesion, or uneven coverage. Choose the method according to the exact material and finish.
Ignoring Product Color
The color of the product influences how the printed logo appears. Dark, metallic, transparent, or strongly colored surfaces can reduce contrast or change perceived colors.
A reversed logo, different ink color, or white underbase may be needed.
Skipping a Physical Test
Digital mockups cannot fully represent texture, curvature, gloss, ink thickness, or real-world placement. A physical sample can reveal issues that are easy to miss on screen.
Approve the Final Product Before Production
Before approving the complete print run, compare the sample with your original specifications. Confirm the exact product model, logo version, dimensions, orientation, placement, colors, and printing method. View the product both up close and from a normal viewing distance. A logo can meet every technical measurement and still feel visually unbalanced. When several products are involved, review each separately because different materials and shapes may require adjustments. Keep the approved artwork, measurements, color specifications, and sample as references for future orders. This helps maintain consistent branding across repeated production runs.
Conclusion
Learning how to print logo on products successfully involves matching the artwork with the physical surface and the right production method. Start by understanding the material, select a compatible technique, prepare clean artwork, and define the size and placement precisely. A physical proof helps confirm how those decisions perform on the finished product. It can reveal problems with color, detail, positioning, or durability before they affect a full order. With careful preparation and clear production instructions, a logo can move from a digital file to a physical product while retaining the clarity, balance, and recognition that support consistent branding.
Let Us Know What You Think!
Every information you read here are written and curated by Kreafolk's team, carefully pieced together with our creative community in mind. Did you enjoy our contents? Leave a comment below and share your thoughts. Cheers to more creative articles and inspirations!
LINK
In this comprehensive guide, we'll delve into the practical aspects of bringing your digital logo designs to the physical world. Whether it's on t-shirts, mugs, hats, or more, we've got you covered! Remember, an impressive logo isn't just a pretty picture; it's an impactful way to elevate a brand's identity and create lasting impressions.
Related Articles





Leave a Comment