Essential Guide to Create Stunning Digital Illustrations

Created by flominowa | https://www.deviantart.com/flominowa/art/Oakley-s-Dream-620305581
In the vibrant world of art and design, digital illustrations stand out as a cornerstone of creativity and expression. Bridging traditional artistic principles with the limitless potential of digital technology, these illustrations open up a universe of possibilities for artists and designers alike. Whether you're a seasoned artist transitioning from canvas to tablet, or a newcomer eager to dive into digital creation, understanding the fundamentals of digital illustration is essential.
Digital illustrations encompass a wide range of styles and techniques, all facilitated by the use of digital tools and software. From intricate character designs for video games to stunning landscapes for digital media, the scope is endless. The appeal of digital illustrations lies in their versatility and the ability to iterate quickly, making it a preferred choice for many in the creative industry.
This comprehensive guide aims to equip you with the knowledge and skills necessary to navigate the digital illustration landscape. By exploring various tools, techniques, and best practices, you'll be empowered to bring your artistic visions to life in the digital realm. Join us as we embark on this exciting journey into the world of digital illustrations, where your creativity knows no bounds.
Understanding Digital Illustration Fundamentals
Digital illustrations are a dynamic and expansive form of art that merges traditional artistic techniques with modern digital technology. At its core, digital illustration involves creating visual content using software and digital tools, offering a vast array of possibilities for creativity and expression. This digital approach to illustration not only broadens the horizon for artists but also introduces a level of precision and versatility unmatched by traditional mediums.
The fundamentals of digital illustrations rest upon understanding the digital canvas—pixels. Unlike traditional painting or drawing, where the medium directly affects the surface, digital artists manipulate pixels on a screen to bring their visions to life. This fundamental difference allows for infinite edits, variations, and experiments without the risk of permanently altering the original piece.
Learning to navigate digital tools and software is pivotal in mastering digital illustrations. These tools offer features such as layers, which enable artists to build their work piece by piece; brushes that can mimic the effects of real-world mediums; and colors that can be adjusted to the minutest detail. The ability to undo and redo steps freely encourages exploration and innovation, making digital illustration a forgiving and flexible medium for artists.
For those aspiring to dive into the world of digital illustrations, grasping these fundamentals is the first step towards unlocking your creative potential. With practice and perseverance, the digital canvas becomes a boundless playground for imagination and creativity.

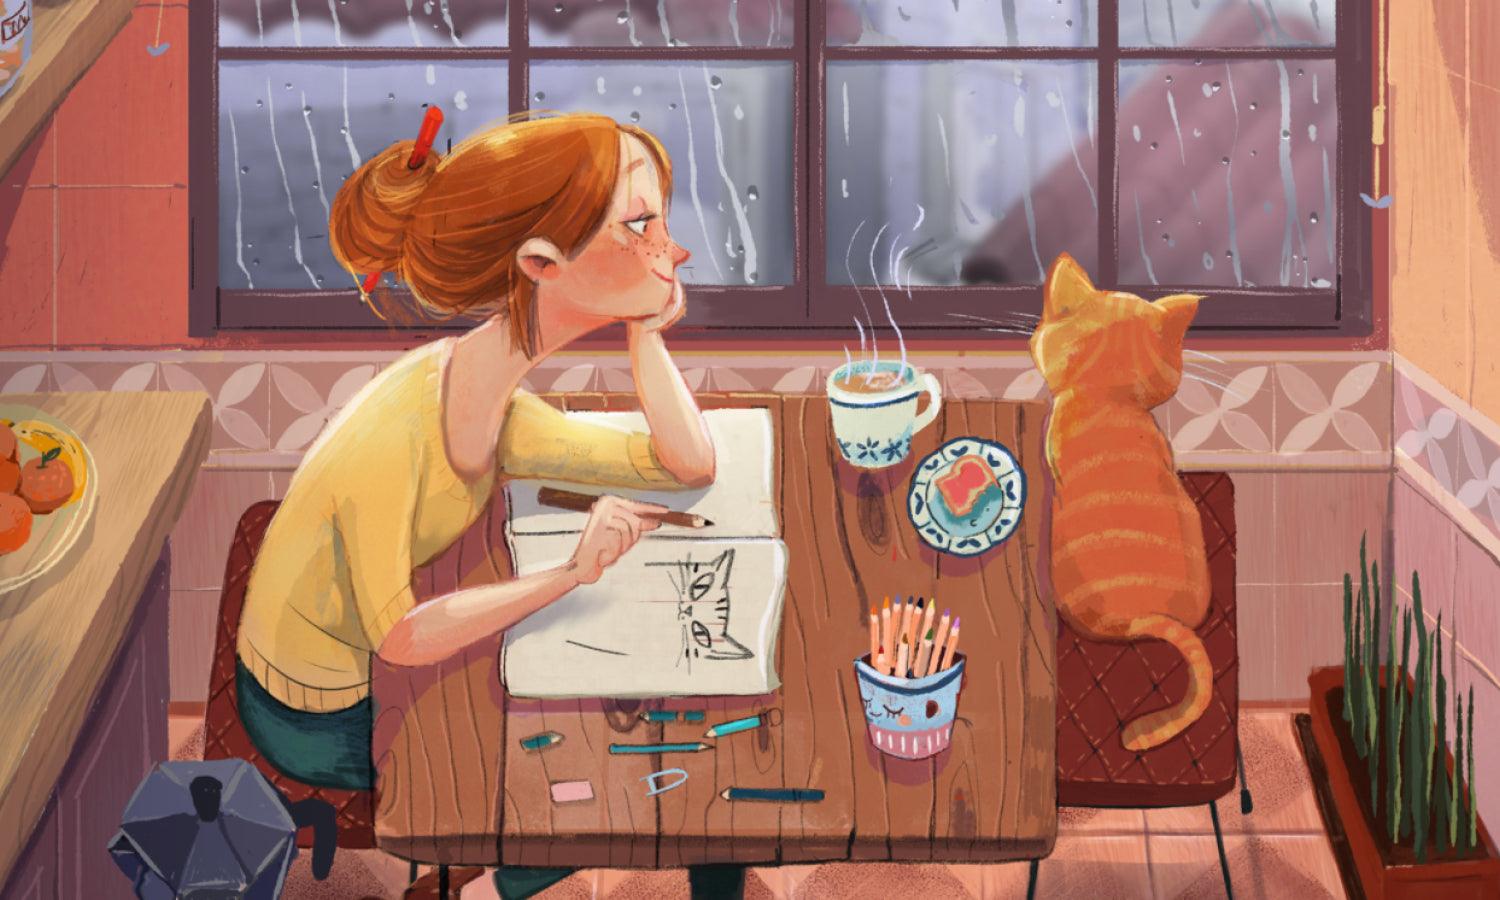
Created by Giugery | https://www.deviantart.com/giugery/art/7-A-Girl-with-her-cat-979581719
Choosing the Right Hardware
Selecting the appropriate hardware is crucial in the journey of creating digital illustrations. The right tools not only enhance the quality of your work but also ensure a smooth and efficient workflow. The cornerstone of digital illustration hardware is the drawing tablet and computer setup, which serves as the artist's canvas and palette.
Drawing tablets come in two main types: graphic tablets, which require a connection to a computer screen for visual feedback, and display tablets, which allow artists to draw directly onto a screen. For beginners, graphic tablets can be a cost-effective entry point, offering precision and versatility. However, professionals or those seeking a more natural drawing experience may opt for display tablets, which mimic the feel of drawing on paper.
The choice of a computer should not be overlooked. A machine with a fast processor, ample RAM, and a high-quality display will ensure that software runs smoothly and colors are accurately represented. For digital illustrators, investing in a computer with a good graphics card is also beneficial, as it supports the rendering of complex images without lag.
Compatibility between your hardware and chosen software is paramount. Ensure that the tablet and computer you select are supported by the digital illustration software you plan to use. This harmony between hardware and software paves the way for a seamless creative process, allowing you to focus on bringing your digital illustrations to life.
The right hardware setup is foundational in the creation of digital illustrations. By carefully selecting tools that fit your needs and workflow, you set the stage for a fulfilling and productive artistic journey.
Exploring Software Options
Choosing the right software is a pivotal decision for any artist embarking on the creation of digital illustrations. The digital art software market is vast, with options ranging from industry-standard programs to niche tools designed for specific artistic needs. Adobe Photoshop, for instance, remains a powerhouse for digital illustration, renowned for its extensive feature set and versatility. Its array of brushes, layer management, and adjustment capabilities make it a go-to choice for professionals.
Another popular choice is Procreate, exclusive to the iPad, known for its intuitive interface and natural drawing experience. It caters especially well to illustrators and designers looking for a portable solution without compromising on quality. Procreate's time-lapse video feature is an added bonus, allowing artists to share their process.
Clip Studio Paint is favored by comic artists and animators for its smooth line work and vector capabilities, making it ideal for projects requiring precision and scalability. Meanwhile, Adobe Illustrator dominates vector illustration, offering powerful tools for creating clean, scalable graphics suitable for both digital and print media.
When exploring software options, consider your specific needs: the type of illustrations you create, your preferred workflow, and whether you value portability or a comprehensive feature set. Many programs offer trial versions, providing a risk-free way to test their capabilities. Ultimately, the best software for digital illustrations is one that feels intuitive to use and supports your creative expression.

Created by ArtAlles | https://www.deviantart.com/artalles/art/Innerchild-40-Support-981189631
Mastering Basic Tools and Techniques
The foundation of creating compelling digital illustrations lies in mastering basic tools and techniques. Regardless of the software chosen, understanding these fundamentals is crucial for bringing your creative visions to life. At the heart of digital art creation are brushes, layers, and selection tools, each serving a unique purpose in the illustration process.
Brushes are the artist's primary tool, simulating a range of traditional media effects, from pencil sketches to watercolor washes. Experimenting with different brush settings, such as size, opacity, and flow, can significantly impact the texture and mood of your work. Custom brushes can also be created or downloaded, offering endless possibilities for personalization and creativity.
Layers are another cornerstone of digital illustration, allowing for non-destructive editing. By separating different elements of your illustration onto individual layers, you can adjust, rearrange, or remove components without affecting the underlying work. This layer-based approach encourages experimentation and can simplify complex compositions.
Selection tools play a critical role in editing specific parts of an illustration. Whether you're adjusting colors, applying effects, or transforming shapes, precise selection ensures your changes are targeted and effective. Familiarizing yourself with the various selection methods—lasso, magic wand, or pen tool—can streamline your workflow and enhance your editing capabilities.
Mastering these basic tools and techniques is a journey of continuous learning and practice. By dedicating time to understand and experiment with these foundational elements, you'll develop a strong skill set that serves as the backbone for creating stunning digital illustrations.
Developing Your Style
Finding and nurturing your unique style is a vital aspect of becoming a successful digital illustrator. Your style sets you apart, making your work recognizable in the sea of digital illustrations. Developing a distinctive style, however, requires time, experimentation, and self-reflection.
Begin by studying a wide range of art and identifying elements that resonate with you. Inspiration can come from anywhere—traditional art, nature, digital media, or even fashion. Pay attention to the types of lines, colors, and compositions that draw your eye. Experimenting with these elements in your work is the first step toward developing your style.
Practice is paramount. Try recreating works you admire, not to copy, but to understand the techniques and decisions behind them. This exercise can provide valuable insights into your preferences and tendencies. Over time, incorporate these insights into your original work, gradually steering away from imitation towards innovation.
Reflect on your work regularly. Ask yourself what aspects you enjoy and what you could improve. Seek feedback from peers and mentors, as external perspectives can highlight strengths and areas for growth you might not see yourself.
Remember, developing a style is an evolving process. It reflects your growth as an artist and may change as you explore new interests and techniques. Embrace this evolution, as it signifies your ongoing journey in the vast world of digital illustrations.

Created by henryz | https://www.deviantart.com/henryz/art/conductor-727434857
Creating Effective Sketches
Effective sketches serve as the foundation for any digital illustration, providing a roadmap from concept to completion. Sketching allows you to explore ideas, compositions, and visual storytelling before committing to detailed work. An effective sketch isn't necessarily detailed or polished; instead, it captures the essence and structure of your intended illustration.
Start with loose, broad strokes to lay down the overall composition and major elements. This initial stage is about exploring shapes and spatial relationships, not details. Keep your sketches dynamic and open to changes; this is the stage for experimentation and correction.
Understanding basic anatomy, perspective, and proportion is crucial, even if your style leans towards the abstract or stylized. These foundational skills ensure that your sketches have a sense of believability and coherence, providing a solid base for further development.
As your sketch progresses, gradually refine your lines and shapes, defining more specific details. However, maintain the sketch's fluidity, allowing for adjustments as your concept evolves. It's also beneficial to use layers for different sketch phases, enabling easy modifications without losing the original composition.
Lastly, consider the final medium of your illustration. If color, texture, or specific details are vital to the piece, indicate these in your sketch. These notes can guide your decisions in the digital painting stage, ensuring a cohesive and impactful final illustration.
Mastering the art of sketching is a journey of continual learning and practice. By focusing on creating effective sketches, you set a strong foundation for your digital illustrations, enhancing both your workflow and the quality of your art.
Layer Management and Organization
Efficient layer management and organization are crucial in creating complex and detailed digital illustrations. Layers in digital art software act like transparent sheets stacked upon one another, allowing artists to work on individual elements of an illustration without affecting others. Proper management of these layers not only streamlines the creative process but also makes revisions and adjustments simpler and less time-consuming.
Start by naming your layers and groups clearly. Descriptive names such as "Background," "Character_Main," or "Foreground_Details" can save you a significant amount of time searching for specific elements later. This practice is especially helpful in projects with a large number of layers.
Utilize layer groups to keep related elements together. For instance, you might have separate groups for different characters in a scene, background elements, and text. Collapsing these groups when they're not in use can keep your workspace clean and navigable.
Leverage layer masks and adjustment layers for non-destructive editing. Layer masks allow you to hide parts of a layer without permanently erasing them, offering flexibility in experimenting with compositions and effects. Adjustment layers enable you to apply color corrections and effects to multiple layers beneath them, without directly altering the original imagery.
Finally, adopt a consistent layer management strategy from the start of your project. This habit ensures that as your illustration evolves, you maintain a structured file that is easy to navigate and edit. Effective layer management not only enhances your efficiency but also allows for greater creative freedom in developing complex digital illustrations.

Created by Harkale-Linai | https://www.deviantart.com/harkale-linai/art/A-New-Era-of-Legend-756028057
Understanding Color Theory and Composition
A strong grasp of color theory and composition is essential for creating visually compelling digital illustrations. Color theory explains how different colors interact, the emotional responses they can evoke, and how they can be used to create harmony or contrast in an artwork. Composition, on the other hand, refers to the arrangement of elements within an illustration to create a balanced and engaging visual experience.
Start by familiarizing yourself with the color wheel and its concepts, such as complementary, analogous, and triadic color schemes. Complementary colors, found opposite each other on the color wheel, can create vibrant contrasts, while analogous colors, located next to each other, offer a more harmonious look. Using these schemes effectively can help guide the viewer's eye through an illustration and highlight focal points.
Understanding the psychological impact of colors is also crucial. Warm colors, such as reds and oranges, can evoke feelings of warmth and excitement, while cool colors like blues and greens tend to have a calming effect. Selecting colors based on the mood you wish to convey can significantly enhance the emotional depth of your work.
In terms of composition, principles such as the Rule of Thirds, leading lines, and framing can help create a more dynamic and interesting illustration. The Rule of Thirds involves dividing the image into thirds, both horizontally and vertically, and placing key elements at the intersections of these lines. This technique can help achieve balance and make your illustration more aesthetically pleasing.
By applying the principles of color theory and composition, you can create digital illustrations that are not only beautiful but also communicate effectively with your audience. These foundational elements play a critical role in the overall impact of your artwork, making them indispensable tools in your digital illustration toolkit.
Navigating the Revision Process
The revision process is a critical phase in the creation of digital illustrations, where artists refine their work to meet both their standards and those of their clients or audience. Effective navigation through this process can significantly enhance the quality of the final illustration. It involves evaluating the artwork, incorporating feedback, and making adjustments to bring the piece closer to the envisioned outcome.
Start by stepping back from your work. Taking a break, even if just for a few hours, can provide a fresh perspective, allowing you to see areas that may need improvement. When reviewing your illustration, pay attention to details such as composition, color balance, and overall coherence. It's helpful to have a checklist or set of criteria based on your initial objectives for the piece.
Feedback is invaluable during revisions. Whether it comes from clients, peers, or mentors, constructive criticism can highlight issues you might have overlooked. Approach feedback with an open mind, understanding that it's aimed at improving the work, not diminishing your effort.
Implementing changes should be done methodically. Use layers to make adjustments non-destructively, preserving the ability to undo modifications if needed. This layer-based approach allows for experimentation with different solutions without permanently altering the original design.
Documenting each revision phase can also be beneficial, providing a visual history of the illustration's development. This record not only offers insights into your creative process but also aids in client presentations and discussions.
Embracing the revision process as an opportunity for growth and refinement can transform a good digital illustration into a great one. By systematically reviewing, seeking feedback, and adjusting your work, you ensure that the final product truly reflects your artistic vision and meets professional standards.

Created by Poopikat | https://www.deviantart.com/poopikat/art/Old-Friend-844580215
Optimizing Workflow for Efficiency
In the realm of digital illustrations, an optimized workflow is key to maintaining productivity and creativity. Efficiency in your process allows more time for exploration and refinement, ultimately leading to higher quality artwork. Streamlining your workflow involves organizing your digital workspace, mastering shortcuts, and implementing strategies that reduce repetitive tasks.
Begin by customizing your software interface to suit your needs. Arrange toolbars, palettes, and menus so that frequently used tools are easily accessible. This customization reduces the time spent searching for tools and options, allowing for a smoother creative process.
Learning and using keyboard shortcuts is another vital step in optimizing your workflow. Shortcuts for common actions like switching tools, adjusting brush size, and toggling between layers can significantly speed up your work. Most software allows for the customization of these shortcuts, enabling you to tailor them to your habits and preferences.
Creating templates for projects you work on regularly can save time and ensure consistency. Templates can include preset canvas sizes, layer structures, and even basic color palettes. By eliminating the need to set up these elements for each new project, you can dive straight into the creative part.
Lastly, automating repetitive tasks through actions or scripts can dramatically increase efficiency. Many digital illustration programs offer the ability to record sequences of actions that can be played back with a single click. Whether it's resizing images, applying a specific set of adjustments, or exporting files in different formats, automation tools can handle tedious tasks, freeing you up for more creative endeavors.
Adopting these strategies to optimize your workflow not only enhances your productivity but also improves your overall digital illustration experience, allowing you to focus on creativity and innovation.
Conclusion
Digital illustrations are a vibrant and evolving field, offering endless possibilities for creativity and expression. As we've explored the various facets of creating digital art, from mastering the fundamentals to optimizing your workflow, it's clear that the journey of a digital illustrator is both challenging and rewarding. Embracing new techniques, continuously learning, and adapting to the digital canvas are key to thriving in this dynamic space. Whether you're a budding artist or a seasoned professional, the world of digital illustrations is a playground for the imagination, where your visions can come alive in ways beyond traditional mediums. Let your creativity flow and explore the boundless opportunities that digital art provides.
Let Us Know What You Think!
Every information you read here are written and curated by Kreafolk's team, carefully pieced together with our creative community in mind. Did you enjoy our contents? Leave a comment below and share your thoughts. Cheers to more creative articles and inspirations!







Leave a Comment