Essential Steps to Create a 3D Rendering for an Interior Design

Creating a 3D rendering for an interior design project is a complex but rewarding process that transforms conceptual ideas into visual realities. This technique has become indispensable in the interior design industry, allowing designers and clients alike to visualize space before any real-world changes are made. Whether you're a seasoned professional or a novice in the field, mastering the art of 3D rendering can significantly enhance your design presentations, providing a clear, realistic view of the anticipated outcome.
This article explores the essential steps involved in generating a high-quality 3D render, from the initial sketches to the final touches. Each phase of the process requires careful consideration and a keen eye for detail to ensure that the final product not only meets but exceeds client expectations. By following these guidelines, designers can showcase their projects in the best light, make informed design decisions, and avoid costly mistakes. The ability to create stunning, lifelike renders of interior spaces is a powerful skill that underscores the importance of technology in modern interior design.
Sketch Initial Ideas
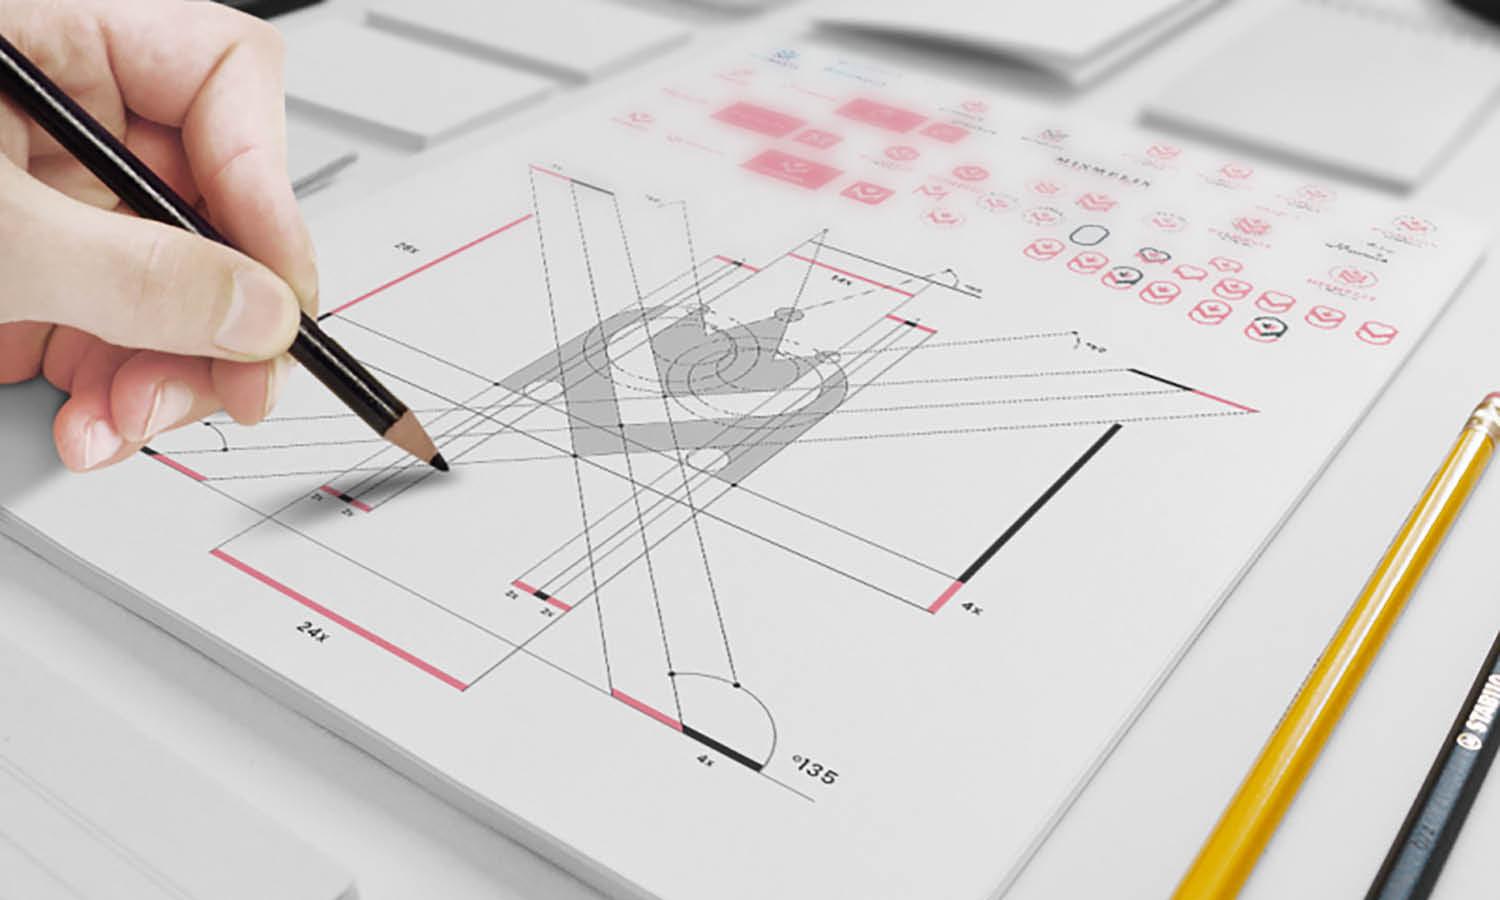
Once the project requirements are clearly understood, the next step in interior design and 3D rendering is to sketch initial ideas. This stage is about translating the client's vision and the functional needs of the space into tangible design concepts. Sketching serves as a preliminary visual tool that helps in exploring different layouts, furniture placements, and decorative elements.
As a designer, use this phase to experiment with various configurations that optimize the use of space while adhering to the client's style preferences. These sketches are not meant to be perfect but should serve as a creative outlet to visualize multiple design possibilities. They act as a bridge between abstract requirements and concrete designs, allowing both the designer and the client to iterate quickly and converge on a concept that meets both aesthetic and practical needs.
Furthermore, sketching initial ideas can highlight potential issues with space planning or furniture arrangement that may not be immediately obvious through discussion alone. This proactive approach can save time and resources in later stages by solidifying the design direction early in the project lifecycle. Once these sketches are refined and approved, they form the blueprint for developing detailed 3D renderings, bringing the conceptualized interior design closer to reality.
Choose Your Software
Selecting the right 3D rendering software is pivotal in the field of interior design, as it influences the efficiency and quality of your final render. The market offers a variety of tools tailored to different aspects of 3D visualization, each with its own set of features, usability, and output quality. Commonly used programs include Autodesk 3ds Max, SketchUp, Rhino, and Blender. Each software has its strengths: Autodesk 3ds Max is renowned for detailed modeling and high-quality renders, SketchUp for its user-friendly interface and extensive plugin ecosystem, Rhino for complex forms and accuracy, and Blender for its versatility and zero cost.
When choosing software, consider your own skill level and the specific needs of your interior design projects. Factors such as rendering speed, realism, the ability to handle complex textures, and lighting options should play a crucial role in your decision. Additionally, software compatibility with other tools used in your workflow, such as CAD programs and graphic design applications, is essential to streamline the process from modeling to rendering.
Create a Base Model
Creating a base model is a fundamental step in the 3D rendering process for any interior design project. This stage involves constructing the digital skeleton of the space, which includes walls, floors, ceilings, and major architectural elements such as windows and doors. Accuracy at this stage is critical as it sets the spatial parameters within which the interior design will be developed.
Start by importing the architectural plans into your chosen 3D rendering software. Use these plans to create accurate scale models of each room. Pay attention to structural details and ensure that the proportions reflect the real-life dimensions. This precision is crucial in avoiding discrepancies during the later stages of design when furniture and other elements are added.
The base model should be detailed enough to give a clear understanding of the space but not so detailed that it becomes cumbersome to modify later. At this point, the model does not require decorative elements or soft furnishings. Instead, focus on the placement of permanent fixtures and structural integrity.
This foundational model serves as the canvas for all subsequent design and decoration decisions. It allows designers and clients to visualize the scale and proportions of the space, making it easier to plan layouts and discuss changes before moving forward with more detailed and resource-intensive aspects of the 3D rendering. Ensuring that the base model is robust and adaptable facilitates a smoother design process and leads to more successful interior design outcomes.

Import Design Elements
Once the base model of your interior design project is established, the next step in the 3D rendering process is to import design elements. This stage involves adding furniture, fixtures, and other décor items into the model to enhance the visual appeal and functionality of the space. Utilizing a library of 3D objects within your rendering software can expedite this process, allowing you to drag and drop items such as sofas, tables, lamps, and rugs into your design.
Careful consideration should be given to the scale and placement of these elements to ensure they accurately reflect the intended design and maintain proportionality with the space. It’s important to consider the client's lifestyle and the space's intended use when selecting these items. For instance, a family living room will have different furniture requirements than a corporate office space.
Additionally, importing elements from external sources can be beneficial if the built-in library does not suffice. Many platforms offer high-quality, realistic 3D models that can be purchased or downloaded for free, providing a broader range of options to find the perfect pieces that resonate with the overall design theme.
This phase is crucial for bringing the interior design to life, allowing clients to visualize how the space will look and function, thus facilitating better decision-making and approval processes. Effective placement of design elements can transform a plain 3D model into a vibrant, enticing space that clients can connect with emotionally.
Apply Textures and Materials
Applying textures and materials is a crucial step in the 3D rendering process, as it adds realism and depth to the interior design. This phase involves mapping detailed surfaces onto the 3D models of furniture, fixtures, and the architectural elements within the space. Textures can replicate the look of fabric, wood, glass, metal, and more, contributing significantly to the visual impact of the render.
To begin, select materials that closely align with the design's aesthetic and functional requirements. For instance, choosing a glossy finish for kitchen cabinets can suggest a modern style, while a textured stone wall might enhance a rustic theme. The software’s material editor allows you to adjust the reflectivity, bump, transparency, and other properties to achieve a lifelike appearance.
Lighting plays a pivotal role in how materials are perceived in a 3D render. Ensure that the lighting setup in your model accurately reflects how light interacts with different surfaces. For example, natural light might highlight the texture of a linen sofa, while artificial light can enhance the glossiness of ceramic tiles.
Carefully applying materials and textures not only boosts the aesthetic quality of the design but also aids clients in understanding the tactile aspects of the space. This understanding is essential for them to make informed decisions regarding the materials' practicality and maintenance in their real-world application. Mastery of textures and materials in your 3D renderings can dramatically elevate the perceived value and appeal of your interior design projects.
Set Lighting
Lighting is a transformative element in 3D rendering, essential for showcasing the true potential of an interior design. Effective lighting not only highlights the architectural and design features but also evokes the desired mood and atmosphere within a space. When setting up lighting in a 3D model, consider both natural and artificial light sources to ensure the render reflects realistic lighting conditions.
Start by positioning natural light sources based on the real-world location of windows and doors. This approach helps simulate how sunlight enters and moves through the space at different times of the day. For artificial lighting, incorporate various types such as ambient, task, and accent lighting to enhance the functionality and aesthetics of the interior. Ambient lighting provides overall illumination, task lighting focuses on areas of activity like reading or cooking, and accent lighting highlights architectural features or artwork.
Adjust the intensity, color temperature, and shadows to mimic the lighting’s real-life behavior. Soft shadows can create a warm, inviting atmosphere, while sharp shadows may lend a more dramatic and modern feel. Using advanced rendering software, experiment with different lighting scenarios to visualize how they impact the space's appearance and ambiance.
Proper lighting setup in 3D renderings can dramatically improve the realism of the scene, making it a crucial step for interior designers to master in order to produce high-quality visuals that meet client expectations and enhance the designed space.
Color Balancing
Color balancing is a critical step in the 3D rendering process, crucial for ensuring that the colors within an interior design are represented accurately and appealingly. This technique adjusts the hues, saturation, and brightness to achieve a harmonious and realistic look, reflecting how colors would appear under natural and artificial lighting conditions.
Begin by assessing the color palette used in the interior design. Ensure that the colors of walls, furniture, and accessories are coordinated and complement each other. In the rendering software, use tools to fine-tune the color properties of each element. Adjustments may be necessary to compensate for the lighting effects, which can alter the perception of color in significant ways.
Consider the psychological impact of color when balancing your render. Different colors can evoke different emotions and affect the spatial perception of the room. For example, warm colors can make a space feel cozy and intimate, while cool colors might give a sense of calm and spaciousness.
Color balancing also involves ensuring consistency across different devices and media where the render might be viewed. Colors can appear differently on various screens and printouts, so it is important to calibrate your render to look good across all potential display methods.

Incorporate Environmental Details
Incorporating environmental details into a 3D rendering is essential for adding context and realism to the visualized interior design. These details help simulate how the interior interacts with its surrounding environment, enhancing the overall appeal and authenticity of the render. Including elements such as landscapes, cityscapes, or even neighboring structures can provide viewers with a sense of location and how the interior design harmonizes with its external surroundings.
Start by considering the natural environment around the building—whether it’s urban, coastal, or rural—and reflect these characteristics in the view through windows or from balconies. Adding realistic environmental textures such as trees, plants, water bodies, and general topography helps to anchor the building within its real-world setting.
The inclusion of dynamic environmental elements like the position of the sun, weather conditions, and seasonal changes can also dramatically affect the mood and lighting within the interior. Simulating these aspects in your 3D renderings allows potential clients or stakeholders to visualize how the interior will feel at different times of the day or year.
Advanced rendering software often comes with tools that allow for the integration of these details in a lifelike and efficient manner. Utilizing these features can create a more compelling and immersive visual presentation that not only showcases the interior design but also its relationship with the broader environment.
Run Test Renders
Running test renders is a crucial step in the 3D rendering process for any interior design project. This phase involves producing preliminary images from the 3D model to evaluate aesthetics, functionality, and the overall impact of the design. Test renders allow designers to identify and rectify issues before finalizing the project, saving time and resources.
Begin by rendering a series of quick, low-resolution images to assess basic elements such as the layout, lighting, and color balance. These initial tests are instrumental in spotting obvious flaws or mismatches in the design. Adjustments should be made iteratively, refining elements that don’t meet the desired criteria or that fail to capture the client's vision.
As the design progresses, increase the resolution and detail in your test renders to closely examine textures, shadows, and material interactions under more realistic lighting conditions. This is especially important for identifying how different materials look next to each other and verifying that the lighting setup produces the desired effect on textures and colors.
It’s also beneficial to run these tests from various camera angles to ensure the design is cohesive and appealing from all viewpoints. Feedback from these test renders can be invaluable, providing a basis for discussion with clients or team members and guiding subsequent adjustments.
Refine the Render
Refining the render is a critical step in the 3D rendering process for interior design, where attention to detail can significantly elevate the final outcome. This phase involves making precise adjustments to enhance visual impact and realism, ensuring that every element within the interior space is depicted with clarity and accuracy.
Start by reviewing the overall composition of the render. Assess the balance and harmony of elements within the space, making sure that the furniture, fixtures, and decor contribute cohesively to the intended design theme. Adjust placements slightly if necessary to improve spatial relationships and visual flow.
Next, focus on the finer details such as textures and materials. Enhance the resolution of textures to capture the true essence of materials, from the gloss of polished stone to the roughness of natural wood grains. Ensure that these textures are not only realistic but also accurately reflect lighting conditions, adding depth and dimension to the space.
Finally, render high-quality previews and scrutinize them for any anomalies or artifacts that could detract from the realism. Correcting these minor imperfections is crucial for presenting a polished and professional final product.
Conclusion
Mastering the process of 3D rendering is invaluable for any interior design professional aiming to deliver precise and compelling visual presentations. By methodically following the outlined steps—from understanding project requirements to running test renders—you can transform conceptual designs into lifelike simulations that captivate and communicate effectively with clients. This detailed approach not only enhances your capability to create stunning interiors but also elevates the overall design experience, ensuring that every element is meticulously planned and beautifully executed to meet both aesthetic and functional demands of the space.
Let Us Know What You Think!
Every information you read here are written and curated by Kreafolk's team, carefully pieced together with our creative community in mind. Did you enjoy our contents? Leave a comment below and share your thoughts. Cheers to more creative articles and inspirations!


Leave a Comment